

Top 9 Ways to Fix Search Not Working in Windows 11
Similar to Spotlight Search on the Mac, Windows carries similar functionality to search for files, apps, and folders. But what if Windows search fails to work or shows irrelevant results? You have no option but to manually search for things you are looking for, which is time-consuming and unproductive. Instead, you can use the tricks below and fix the search not working in Windows 11.
Windows 11 search tightly integrates into the start menu. You can hit the Windows key on the keyboard and start typing to search for files on your computer. Let’s fix the search issues once and for all on your computer.
1. Add a Search Icon on the Taskbar
If you are facing issues with search in the start menu, you have another option to open search as well. You can place a search shortcut on the taskbar and fly through queries with a single click.
Note: By default, Windows 11 integrates search on the taskbar. You might have disabled it to free up the space at the bottom.
Step 1: Press Windows keys + I shortcut to open the Windows Settings menu.
Step 2: Go to Personalization and select Taskbar.

Step 3: Enable Search toggle.

Click on magnifying glass icon, and try searching for files and apps.
2. Run Search Troubleshooter
Microsoft offers a built-in troubleshooter tool to find and fix problems with Windows Search. Here’s how you can use it and fix the search not working in Windows 11.
Step 1: Launch Windows Settings and go to the System menu.
Step 2: Select Troubleshoot and open other troubleshooters from the following menu.

Step 3: Scroll down and select Run beside Search and Indexing.

Windows will run the troubleshooter and help you fix search issues on your computer.
3. Restart SearchHost Services
When you turn on your PC, Windows automatically starts the search services in the background. At times, if the OS fails to do so, the search won’t work. Follow the steps below and restart Windows search services using the Task Manager.
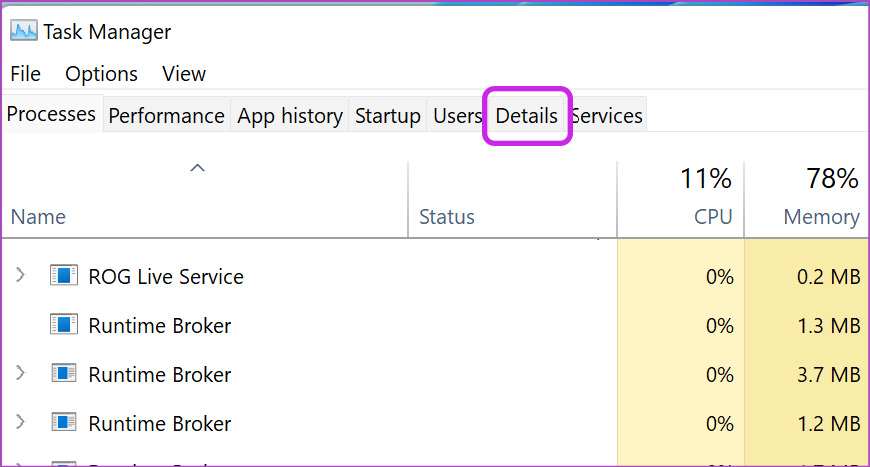
Step 1: Right-click on the Windows key on the taskbar and select Task Manager.
Step 2: Move to the Details tab.
Step 3: Scroll to the SearchHost.exe process.
Step 4: Right-click on it and select End task.
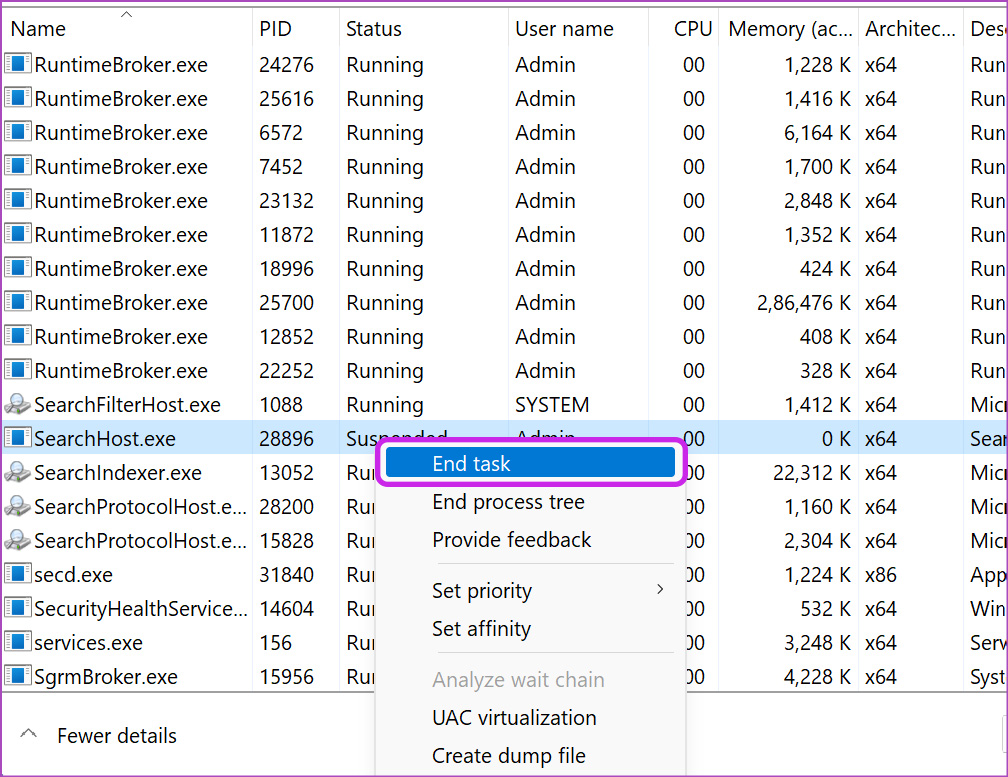
Try searching for something on your computer and Windows will resume the search services.
4. Enhance Search Indexing
Are you facing issues with finding files within folders? Windows might be using the classic indexing that only search through Documents, Pictures, and Music folders. You need to make a tweak in settings.
Step 1: Launch the Windows Settings menu and go to Privacy & Security.
Step 2: Select Searching Windows under the Windows permissions menu.

Step 3: Select the radio button beside Enhanced and close the menu.

From now on, Windows will search your entire PC. This might result in high CPU consumption and may affect the battery life.
5. Check Excluded Folders
If you have asked Windows to not search through specific folders, the data won’t appear in search results. You can check the excluded folders and remove them if you want.
Step 1: Go to Privacy & Security in Windows Settings (refer to the steps above).
Step 2: Click on Searching Windows.
Step 3: Check excluded folders from search results. Select a three-dot menu beside a relevant folder and select remove.
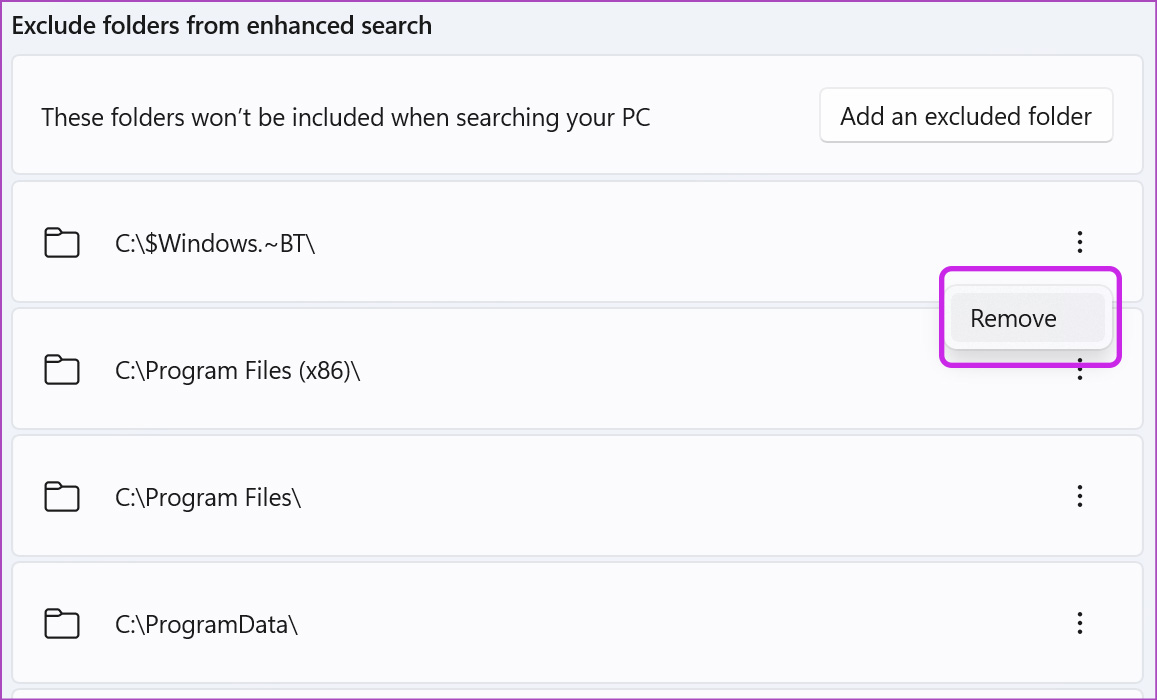
Windows can now search through all the removed folders on the computer.
6. Restart Windows Search
If you are still facing issues with the search on your PC, you can restart the Windows Search service. Here’s how.
Step 1: Press the Windows key and search for Services. Hit the Enter key.
Step 2: Scroll down to Windows Search.
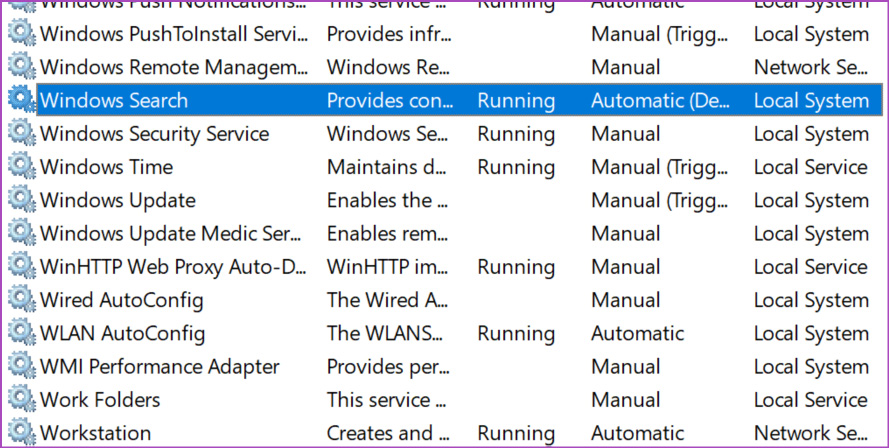
Step 3: Right-click on it and select Restart.

7. Clear Device Search History
If your computer is affected by corrupt search data, you might face problems. So it’s a good idea to clear the search history and start from scratch. However, after clearing the search history, the initial few searches will be a bit slow.
Step 1: Open Privacy & Security menu in Windows Settings (check the steps above).
Step 2: Select Search permissions.
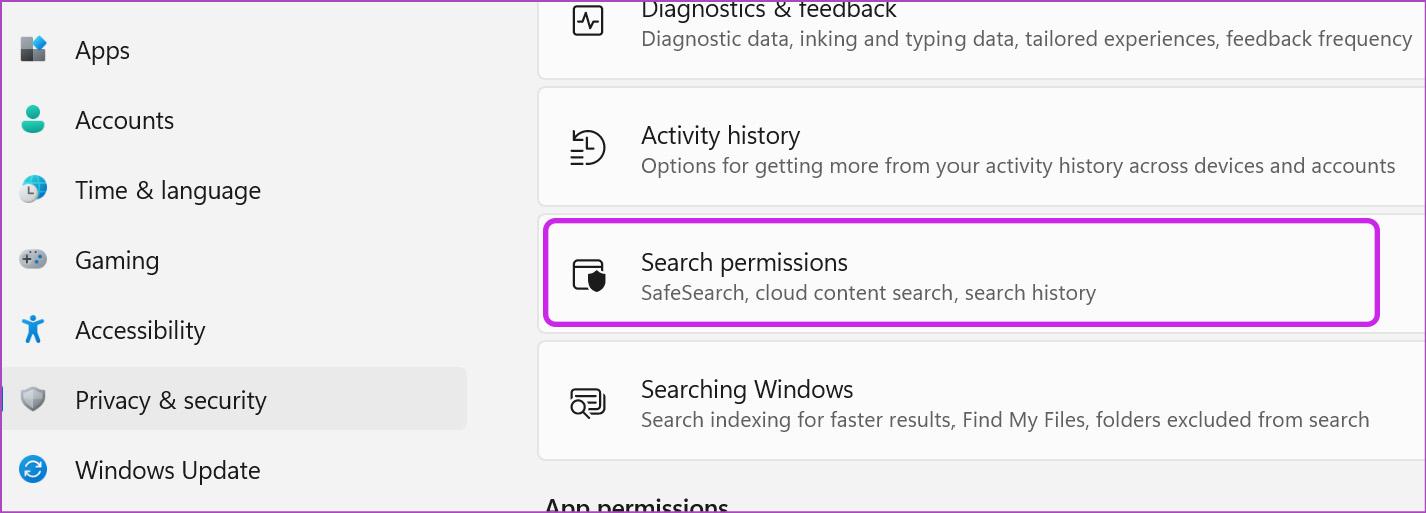
Step 3: Select the Clear device search history button.
![]()
![]()
8. Check Indexed Locations
When you have important files stored in C: drive or D: drive, you need to make sure Windows search can index through it.
Step 1: Press the Windows key and search for Indexing Options.
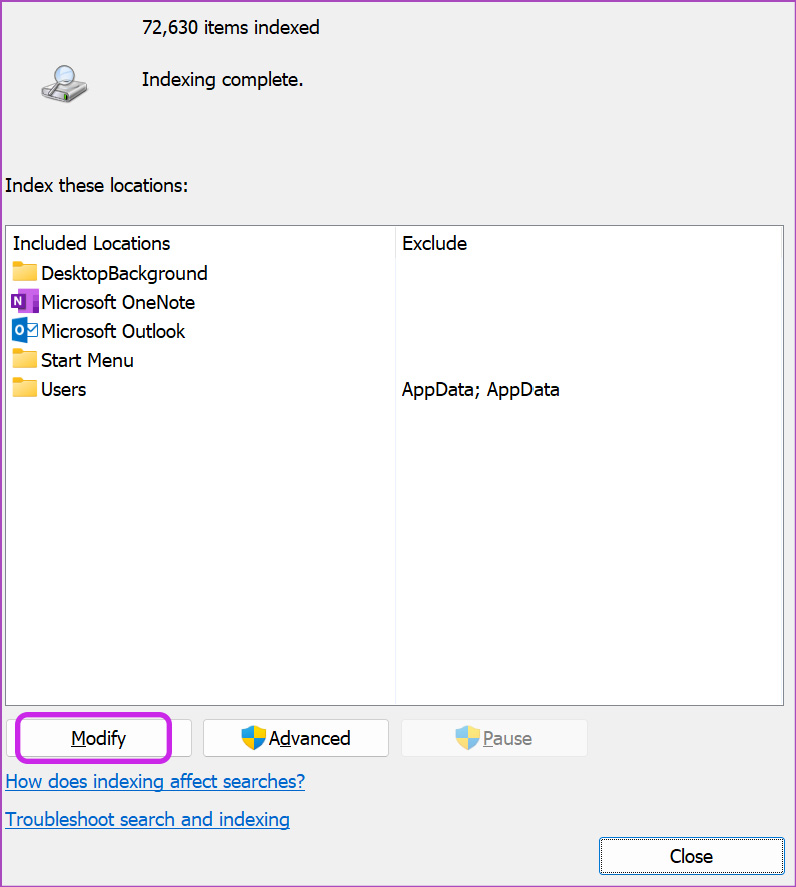
Step 2: Click on Modify and enable Local Disk drive.
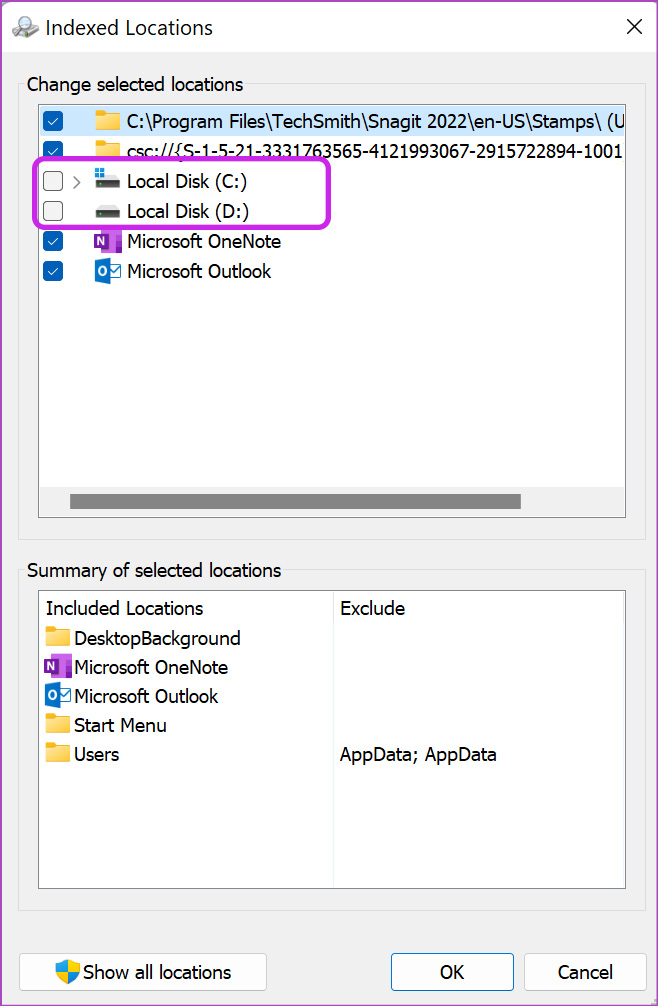
Hit OK, and you are good to go.
9. Update Windows 11
Your last resort to fixing search not working in Windows 11 is updating the software on your PC. Head to the Windows Update menu in Settings and install the pending update.
Fly Through Search Queries on Windows
You don’t need to remember the file location or make the taskbar crowded with dozens of apps and games. Use Windows search and access those apps and documents in no time.