How to Fix YouTube Audio Stuttering in Chrome on Windows
Stuttering YouTube audio is a nuisance that prevents you from binge-watching your favorite show. In most cases, reopening YouTube and your browser resolves the problem, but there are times when an in-depth investigation is required.
To help you resolve the stuttering issues on YouTube, we have compiled a list of general, browser-related, and system-level fixes that you can start implementing.
But First, Rule Out Hardware Issues
You can start the troubleshooting process by ruling out hardware problems first. Make sure your audio device doesn’t cause stuttering in YouTube audio. You’re more likely to experience this if you’re using a Bluetooth audio device.
You can verify this by playing audio on any other website or on your computer. The occurrence of stuttering throughout the computer is a first indication that your device might be at fault. You can try connecting the device with another computer to confirm that it’s the audio device that’s the culprit and not the OS.
If the stuttering continues on another computer, replacing the device will help resolve the issue. However, if it starts working correctly, your operating system is at fault. In that case, jump right to the operating system fixes.
Conversely, an issue occurring only on YouTube is likely an issue with the browser. For that, we’ll cover fixes that are specific to the browser. Before we get to them, let’s apply some general fixes first.
General Fixes to Resolve a YouTube Audio Stuttering Issue
It’s best to rule out general causes before troubleshooting the browser or operating system. Here are some general fixes that may help.
1. Mute and Unmute the Tab Once
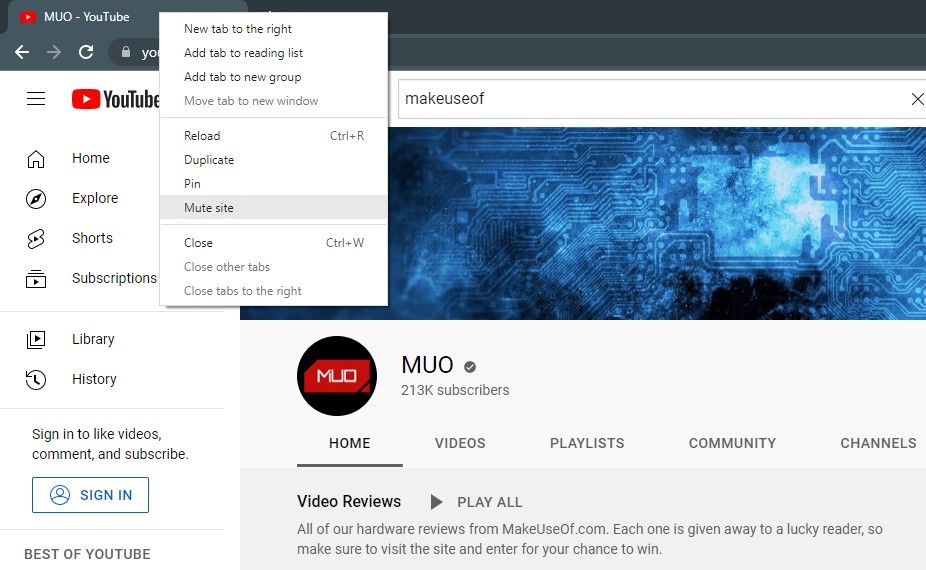
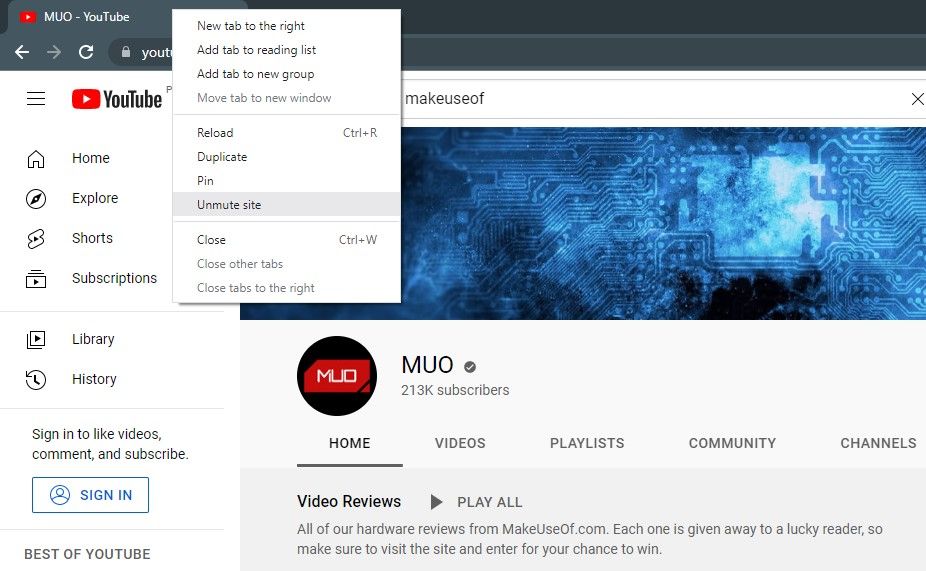
Muting the YouTube tab and then unmuting it right after it holds a good chance of fixing the YouTube stuttering issue. To do so, follow these steps:
- Right-click the tab where YouTube is open.
- Click on the Mute site option.
- Once more, right-click on the same tab and select the Unmute site.
When this fix doesn’t resolve the problem, it’s time to give YouTube a fresh start.
2. Restart YouTube
Close the tab where YouTube is open and reopen it. A fresh start will establish a new audio connection that will likely resolve the stuttering issue.
Open YouTube and play the video to see if the audio is clear now. If not, continue with the other general fixes.
3. Rule Out Account Issues
While less likely, the issue may be related to your YouTube account. To ensure this is not the case, sign out of your YouTube account and log in to a new one.
If changing your account resolves the issue, abandon your old account and begin using the new one. However, if this change doesn’t work for you, move on to the next fix.
4. Try a Different Browser
Temporarily switch your browser and play YouTube there to ensure your primary browser isn’t the culprit. If YouTube starts working fine on another browser but continues to stutter on your primary browser, you can shift to a different browser permanently.
However, if you are eager to stick with the primary browser, troubleshoot the browser-related issues to resolve the problem by applying the below-mentioned fixes.
Chrome-Level Fixes to Resolve Audio Stuttering Issues
If stuttering continues in just one browser, try the following browser level fixes.
1. Block Extensions
Block all shady extensions you’re currently using to avoid extension inference causing YouTube audio to stutter. Blocking ad blockers should be the first step, as they directly interfere with YouTube’s script that blocks ads that may cause the issue under discussion.
Try disabling each extension and see if that resolves the problem. Alternatively, open a new Incognito tab with CTRL + Shift + N, as addons aren’t allowed to load in this mode by default. If it doesn’t work, move on to the next browser fix.
2. Disable Hardware Acceleration
The Chrome browser comes with a nifty hardware acceleration feature, which takes the load off the CPU and puts it on the GPU.
Although it improves browser performance in most cases, it can also do the opposite if your computer lacks a powerful GPU.
Therefore, you might notice your browser crashing, freezing, or lagging excessively. Likewise, audio stuttering may also result from this feature being enabled. As such, you can try temporarily disabling hardware acceleration to make sure it’s not the culprit. Here’s how:
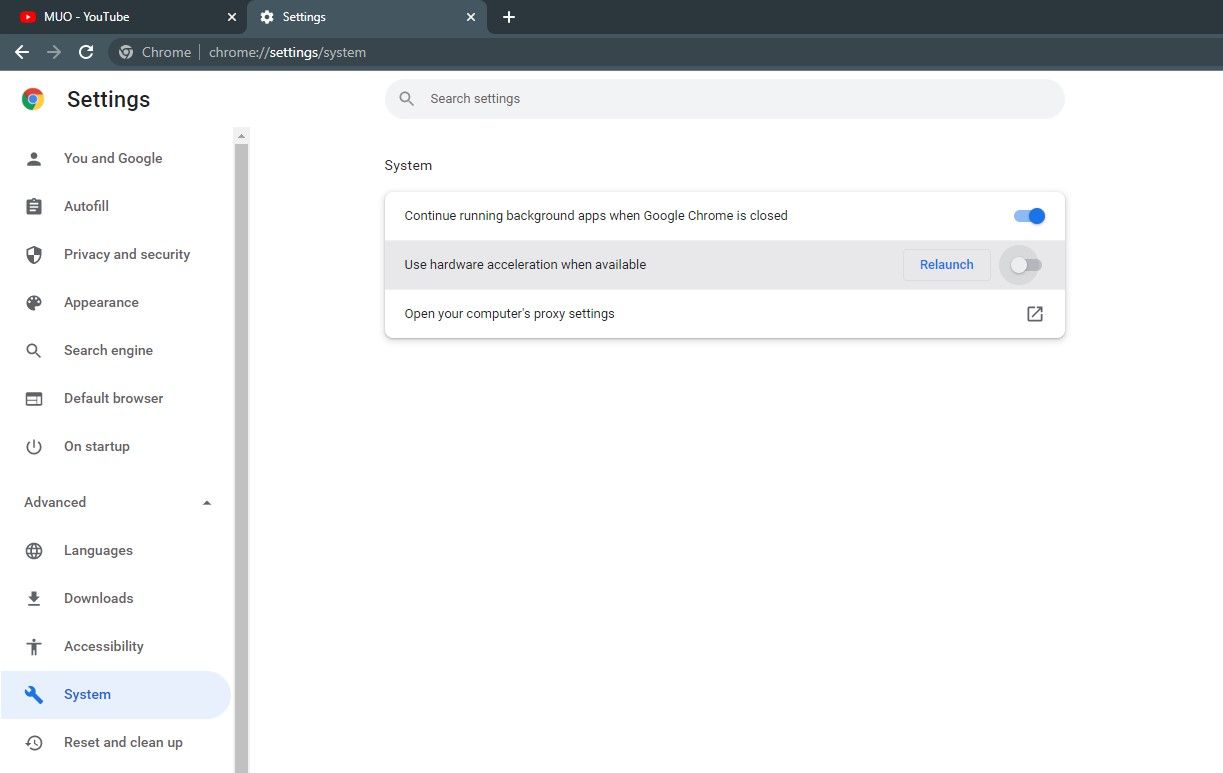
- Click on the three vertical dots in the top-right corner and go to Settings.
- Expand the Advanced dropdown in the left-sidebar.
- Go to System.
- Locate the “Use hardware acceleration when available” option and turn the toggle to the left.
- Relaunch your browser once.
3. Apply General Chrome-Based Fixes
If disabling hardware acceleration does not solve your problem, then it’s time to try some general Chrome troubleshooting tools:
- First up, try updating your Chrome browser. Sometimes, downloading the newest Chrome patch will fix the problem.
- If that doesn’t work, clear the cache and cookies on Chrome. This gives the browser a fresh slate to work with.
- Finally, clear your browsing history on Chrome. This is very much a last resort, as it will clear all records of the websites you’ve visited.
Here are a few operating system fixes that might help if the problem doesn’t stem from the browser.
1. Update the Audio Driver
An outdated audio driver can also cause audio stuttering on browsers, so updating the driver could be helpful. To update the driver, follow these steps:
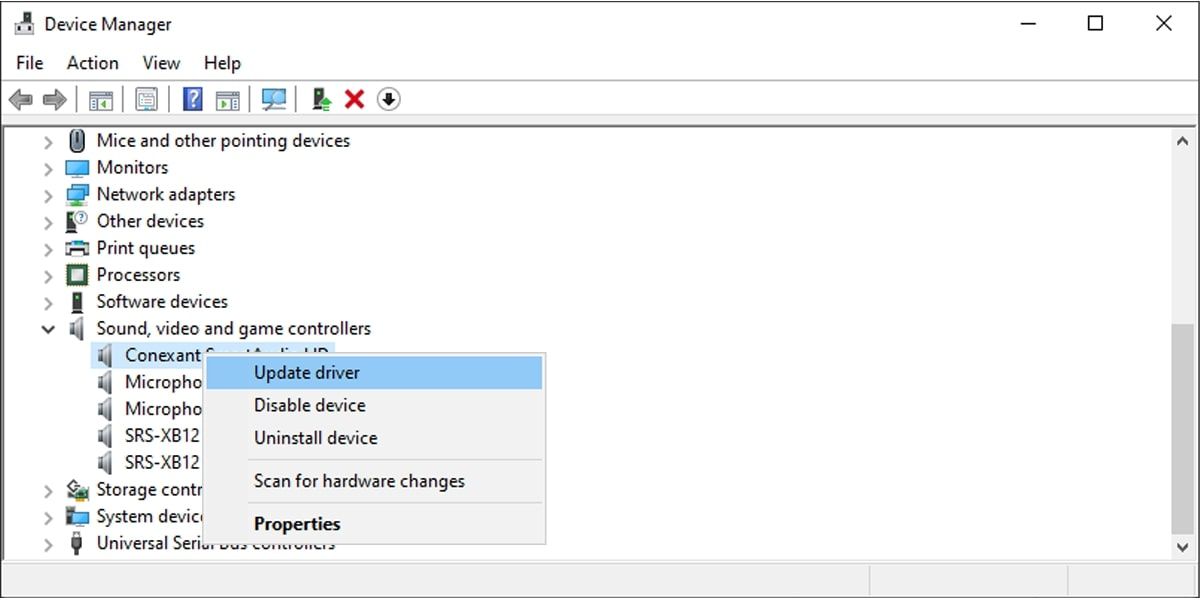
- Right-click on the Start button and navigate to Device Manager.
- Expand the category for Sound, video, and game controllers.
- Right-click on the sound driver and hit the Update driver.
After that, follow the on-screen instructions and test your YouTube audio again. When it fails to resolve the issue, disable audio enhancements next.
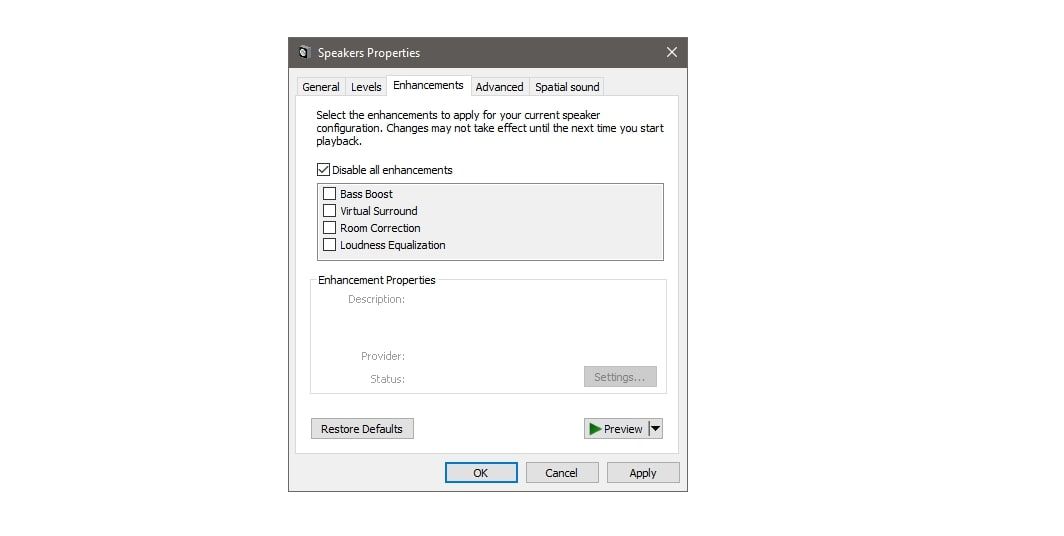
2. Disable Audio Enhancements
The audio enhancements feature is a great addition in Windows 10 that puts soul into your system’s audio. It improves audio quality most of the time; however, there may be times when it does the opposite.
Audio enhancements feature turned on can also cause your browser audio to stutter. Thus, it’s a good idea to disable it. Follow the below steps to do that:
- Right-click on the speaker icon in the bottom-right corner of the taskbar and select Sounds.
- In the Sound window, navigate to the Playback tab.
- Right-click on your primary audio device and select Properties.
- In the Properties window, navigate to the Enhancement tab.
- Then, check the Disable all enhancements box.
- Click Apply and hit OK.
If disabling the audio enhancements doesn’t work, run the Windows audio troubleshooter.
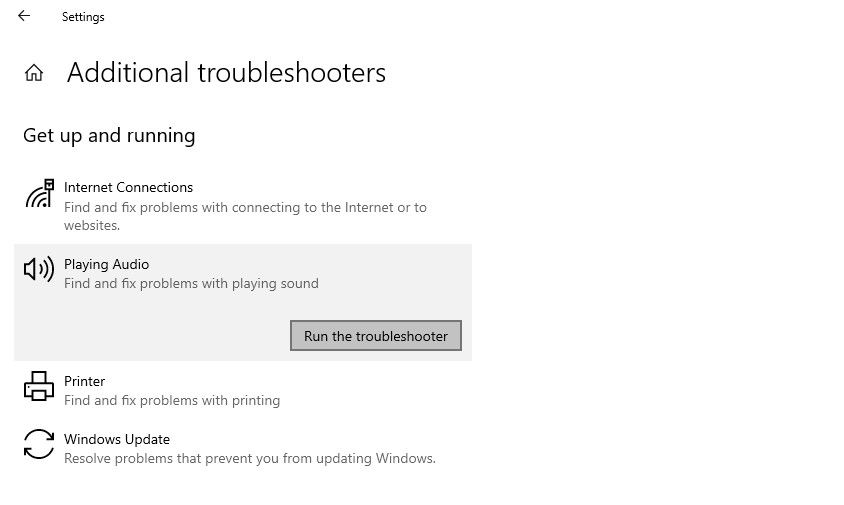
3. Run the Audio Troubleshooter
To run the audio troubleshooter in Windows, follow the below steps:
- Right-click on the Start button and navigate to Settings.
- Go to Update & Security.
- Click on Troubleshoot in the left-sidebar.
- Click on Additional troubleshooters.
- Click on Playing Audio and hit Run the troubleshooter.
If you continue to have audio problems after applying the above fixes, look at our article for some additional fixes you can apply to resolve audio issues in Windows.
Binge-Watch Your Favorite Show on YouTube
The fixes outlined in the list should help you eliminate audio stutter. Your videos should now play smoothly. So, start binge-watching them.
If the audio keeps stuttering and no fix works, think about switching to a YouTube videos viewer that allows you to watch YouTube videos without actually visiting YouTube.
Read Next
About The Author