

How to Fix ‘Undoing Changes Made to Your Computer’ Error in Windows 11
Windows 11 is frankly a great operating system, and Rectify 11 (Redesigned Windows 11) is even better with its consistent UI and upgraded features. However, much like Windows 10, the update issues in Windows 11 are quite annoying. Once in a while, Windows 11 will show an “Undoing changes made to your computer” error while applying an update. And no matter how many times you attempt a fresh download, it just can’t install the update. To help you out of this situation, we have listed 10 ways to fix the “Undoing changes made to your computer” error in Windows 11 in this guide. If you are stuck on this screen or facing errors like 0x800f0922 or 0x800f0988 on your Windows 11 PC, we have the perfect solution. So without any wait, let’s dive in.
Fix ‘Undoing Changes Made to Your Computer’ Error in Windows 11 (2022)
In this tutorial, we have mentioned 10 different ways to fix the “Undoing changes made to your computer” error on Windows 11. If you are stuck on the update screen or unable to apply a new update, the below methods will help you resolve the problem. You can expand the table below and move to any section.
1. Stuck at “Undoing Changes Made to Your Computer”? Fix Here
Don’t worry if your Windows 11 PC is stuck at the “Undoing changes made to your computer” error for hours. You can fix the issue from the recovery menu. Here is what you need to do:
1. If your computer is stuck at the “Undoing changes made to your computer” error, I first suggest you wait for a few hours. If there is no progress even after 2-3 hours, press and hold the power key and shut down your PC.
2. Now, press the power key once and press the “F8” key. It will open the Recovery screen. If that does not happen, try pressing “Shift + F8” simultaneously. On other computers, pressing the “Esc” or “F11” key may trigger the Recovery menu.
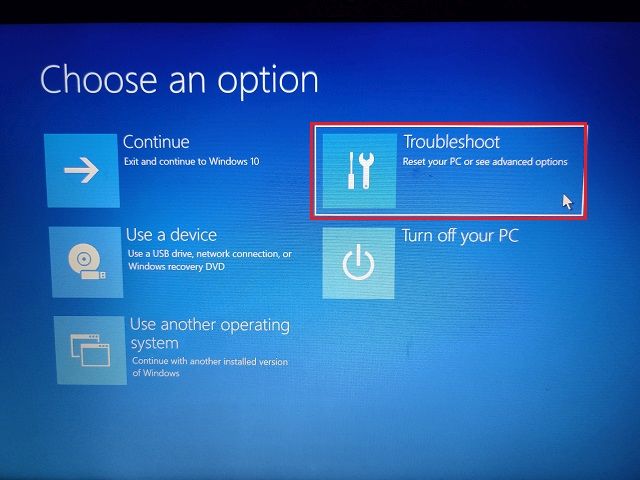
3. Once you are on the Recovery screen, click on “Troubleshoot“.
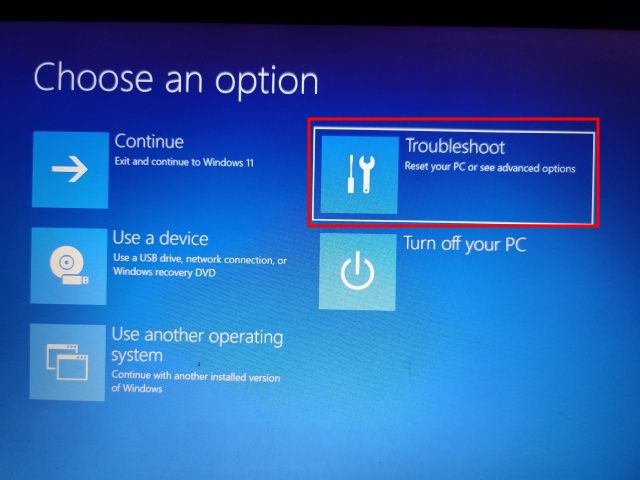
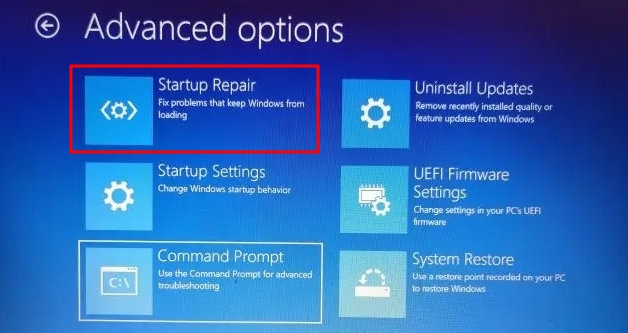
4. Next, click on Advanced Options and choose “Startup Repair“. Now, your Windows 11 PC will restart and diagnose your PC. After that, your PC should boot fine.
5. If the above step didn’t work, click on “Uninstall Updates” under “Advanced options” on the Recovery screen.
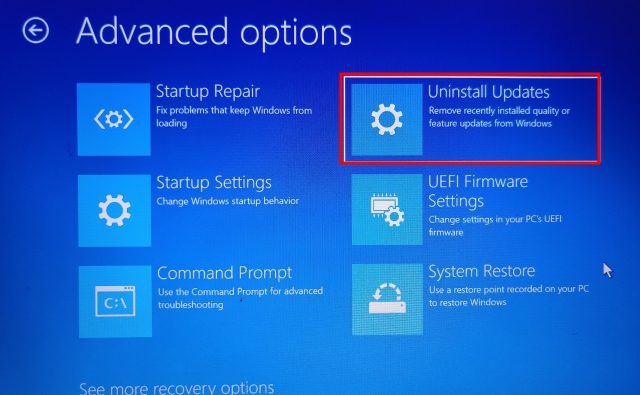
7. After that, click on “Uninstall latest quality update“. That’s it. Now, restart your Windows 11 PC, and the “Undoing changes made to your computer” error should be eliminated.

2. Getting Error 0x800f0922 or 0x800f0988 While Updating Windows 11
If you are getting the “Undoing Changes Made to Your Computer” error, followed by either the 0x800f0922 or 0x800f0988 error, you can fix it with a simple service change. Here are the steps to follow.
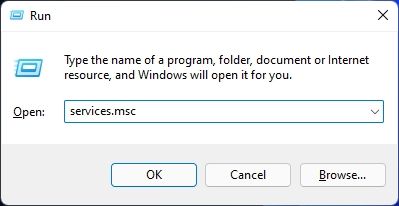
1. Once you log in to your PC, press the Windows 11 keyboard shortcut “Windows + R” and open services.msc. Then, press Enter to open the Windows Services window.
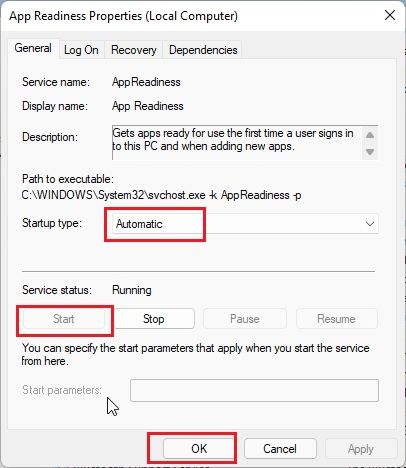
2. Here, look for “App Readiness” and open it. Now, change the Startup type to “Automatic” and start the service. Finally, click on “OK”.
3. Now, go ahead and update your Windows 11 PC. You should not see “Undoing changes made to your computer” or “0x800f0922” errors anymore.
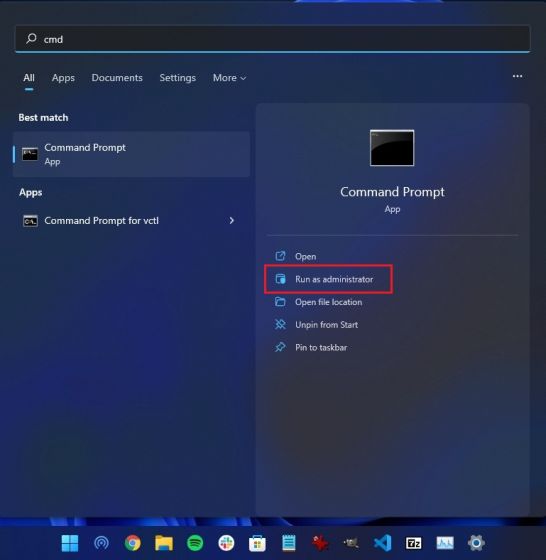
4. In case you are specifically getting the “0x800f0988” error, you should try running the command in the next step. Press the Windows key once and search for “cmd“. Now, click on “Run as Administrator” in the right pane.
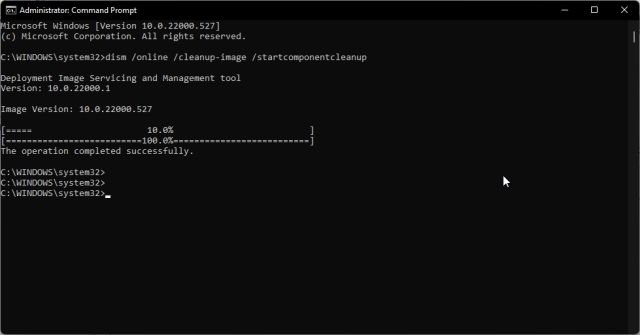
5. After that, execute the below command. It will clean up the WinSxS folder. Once it’s done, update your Windows 11 PC, and it should work fine this time around.
dism /online /cleanup-image /startcomponentcleanup
3. Fix the “Undoing Changes Made to Your Computer” Error with Command Prompt
In case your Windows 11 PC is still not updating to the latest build and showing the “Undoing changes made to your computer” error, try these nifty Command Prompt commands.
1. Press the Windows key once and search for “cmd”. Now, click on “Run as Administrator“.
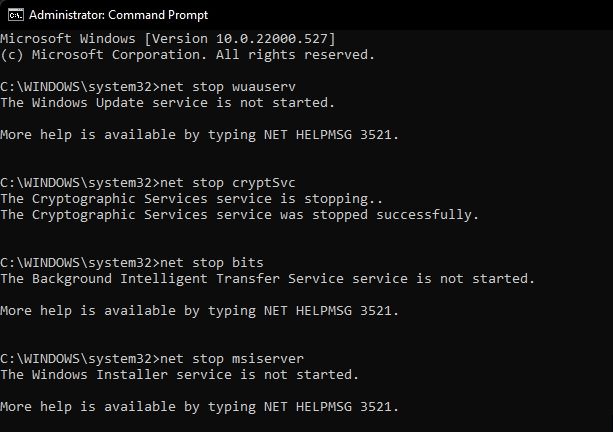
2. Here, run the below commands one by one. This will stop all the essential Windows Update services.
net stop wuauserv
net stop cryptSvc
net stop bits
net stop msiserver
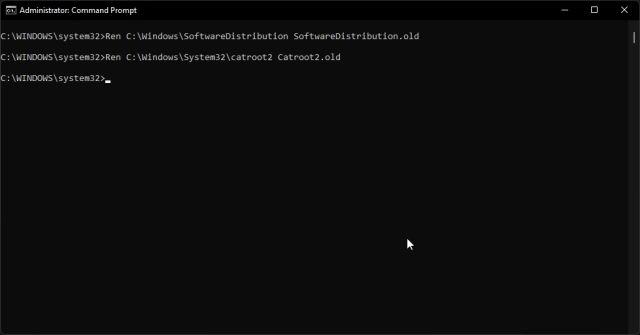
3. After that, execute the below commands to rename the update folders.
Ren C:WindowsSoftwareDistribution SoftwareDistribution.old
Ren C:WindowsSystem32catroot2 Catroot2.old
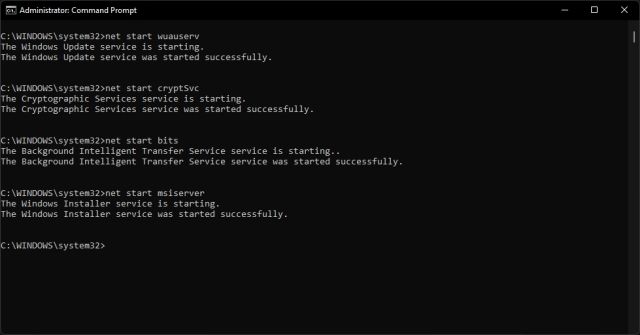
4. Finally, run these commands to restart the services. After that, go ahead and update Windows 11. Chances are that you will not get any errors this time.
net start wuauserv
net start cryptSvc
net start bits
net start msiserver
4. Run Windows Update Troubleshooter
So far, if none of the above methods have worked for you, then try running the official Windows Update troubleshooter. It has seemingly fixed many update-related bugs in the past for me. Here are the steps you need to follow.
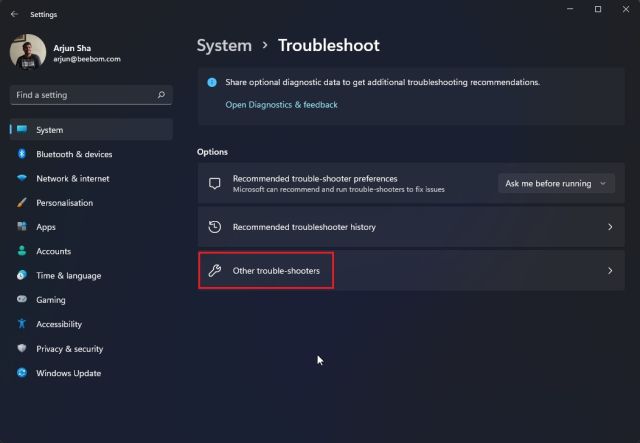
1. Press the Windows key once and search for “Troubleshoot“. Now, open it.

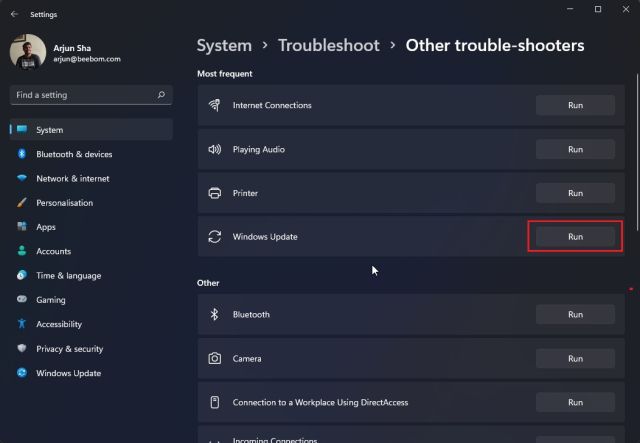
2. After that, click on “Other trouble-shooters“.
3. Here, click on “Run” next to Windows Update.
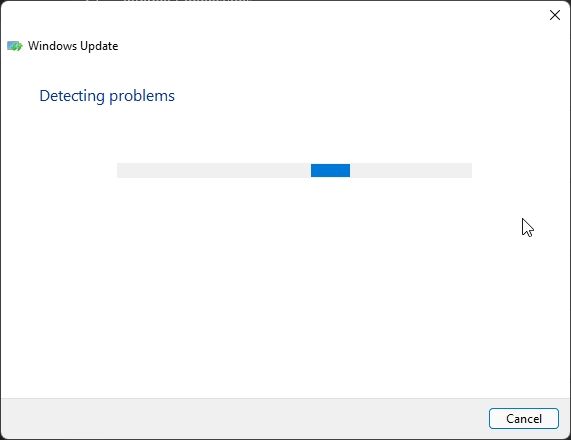
4. Now, follow the on-screen instructions and let it complete the process. Following that, restart your PC and try to update your Windows 11 PC. This time, you should not encounter any errors.
5. Upgrade from Windows 10 to Windows 11 with Installation Assistant
If you are on Windows 10 and always getting the “Undoing changes made to your computer” error while upgrading to Windows 11, you can follow the steps below to avoid this error. With Windows 11 Installation Assistant, you can seamlessly upgrade your PC from Windows 10 to Windows 11 without any error.
1. Go ahead and download the Windows 11 Installation Assistant from here.
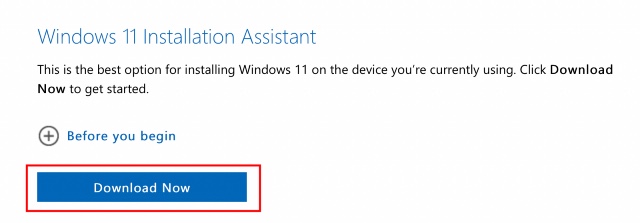
2. After that, run it and follow the on-screen instructions.

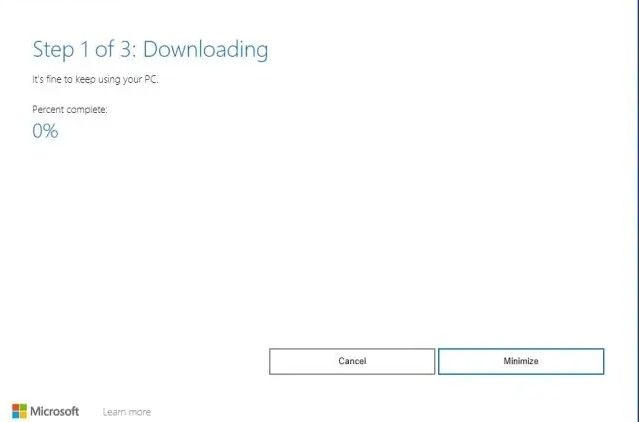
3. Now, let it download the latest build of Windows 11. After that, restart your computer, and you will be upgraded to the latest version of Windows 11. You can read about all the cool new Windows 11 features you will be able to use right here.
6. Apply Windows 11 Update Manually
For smaller cumulative updates, you can bypass the “Undoing changes made to your computer” error on Windows 11 by downloading and applying the update manually. Here is how to do it.
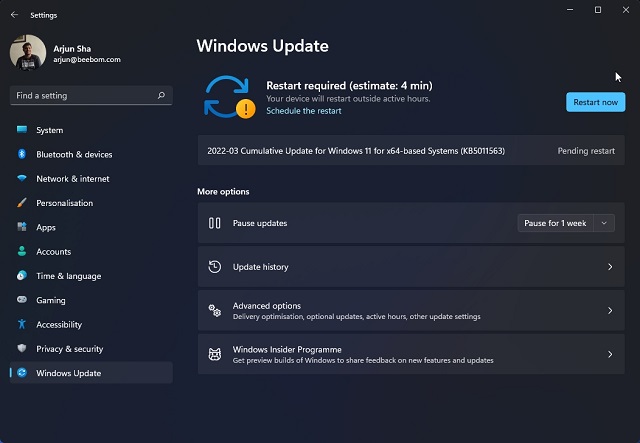
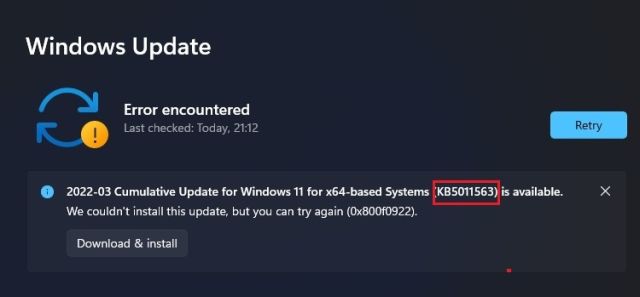
1. First, press “Windows + I” to open the Settings app. Now, move to “Windows Update” from the left sidebar. Here, note down the update pack that starts with “KB”.
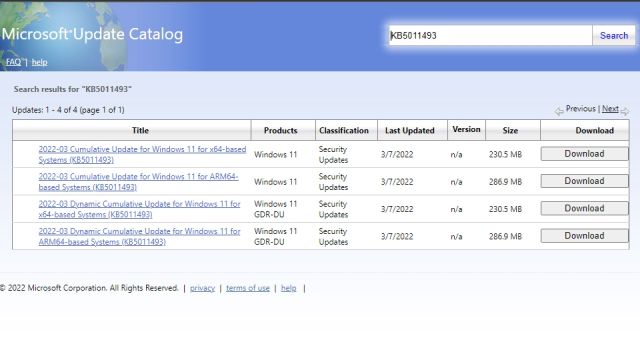
2. Now, open catalog.update.microsoft.com and enter the update pack that you just noted above into the search field. Then, hit Enter.

3. It will show you all the updates available for the particular update pack. Now, based on your system, whether it’s x64 or ARM-based, download the required update. For a majority of users, it will be x64.
4. After downloading the update, double-click on it and install the update. Once it’s done, restart your computer, and you will have your Windows 11 PC updated to the latest patch. That’s easy, right?

7. Investigate the Windows 11 Update Error with Event Viewer
Sometimes, Windows 11 does not show any error code and simply throws the “Undoing changes made to your computer” error. It prevents us from knowing the exact reason behind the error and hinders us from solving the issue. To combat this, we are going to use the built-in Event Viewer that keeps a log of all the operations that go in the background. From there, we can find the root cause behind the error on your Windows 11 PC. Here is how to do it.
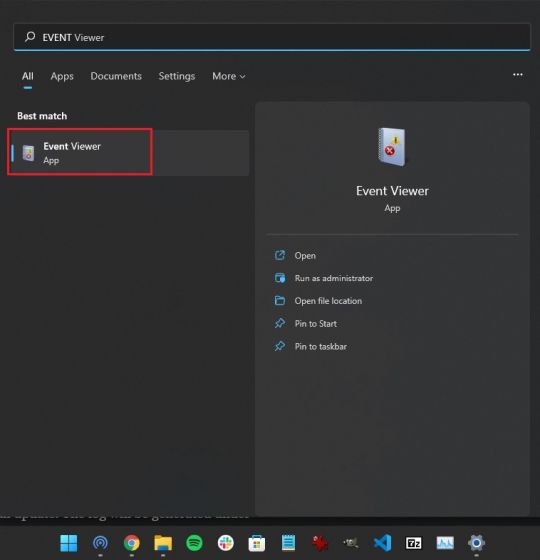
1. Press the Windows key once and search for “Event Viewer“. Now, open it.
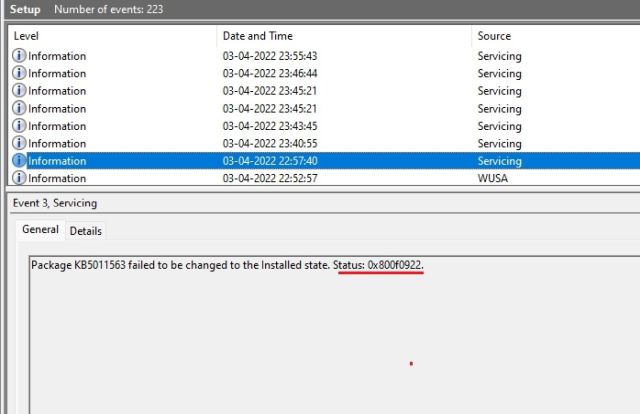
2. Here, navigate to Windows Logs -> Setup.

3. Under “Setup”, you will find all the update logs. Keep going through all the logs and try to find the error code at the bottom pane. For example, here is mine — 0x800f0922.
4. This will help you in pinning down the issue. Now, go ahead and search for the error code on the internet and find a suitable solution.
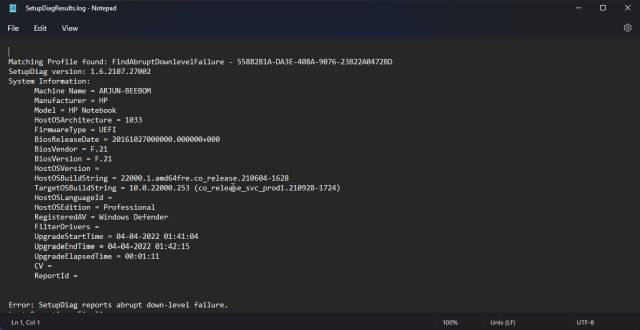
5. By the way, you can also download SetupDiag (click here) to find out the reason behind the unsuccessful update. Just run the EXE file, and the log (logs.zip) will be generated under the same folder.
8. Run DISM, SFC, and CHKDSK Commands
In case you are still facing the “Undoing changes made to your computer” error, you can run the DISM and SFC commands to fix update woes on your Windows 11 computer. Simply follow the steps below.
1. Press the Windows key once and search for “cmd“. Now, click on “Run as Administrator”.
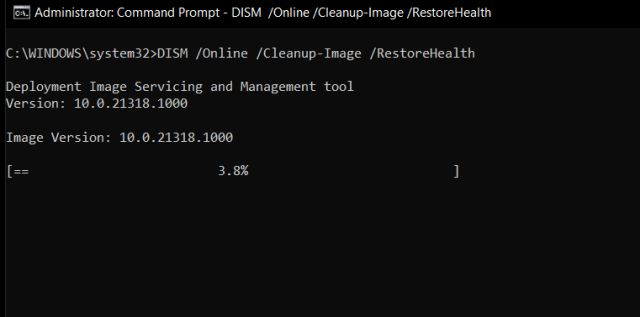
2. In the CMD window, run the below DISM command to fix any image corruption issues.
DISM /Online /Cleanup-Image /RestoreHealth
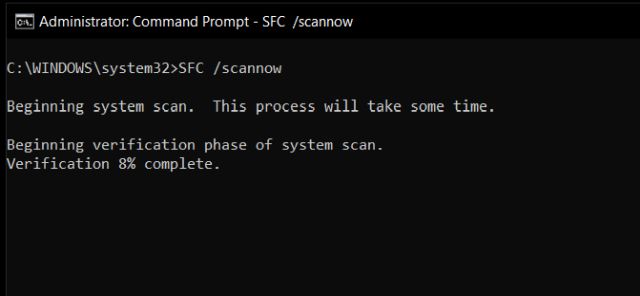
3. After that, run the SFC command to check file integrity.
SFC /scannow
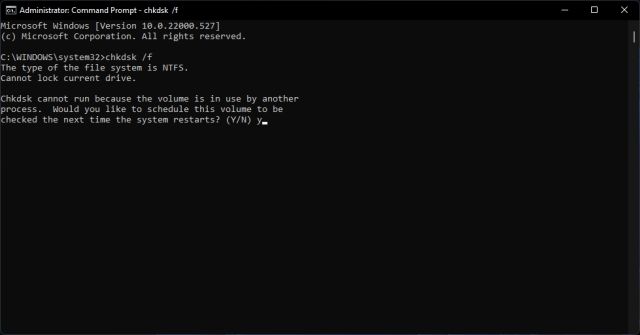
4. Finally, run the CHKDSK command to fix any bad sectors in the hard disk. Type “Y” when prompted and hit Enter. Now, restart your computer, and your hard disk will be checked for possible errors during boot.
chkdsk /f
9. Update Windows 11 Drivers
Many have reported that due to outdated drivers, Windows 11 sometimes is unable to apply the update. If such is the case, go ahead and update all your drivers to the latest version of Windows 11. We already have a guide on how to update drivers on Windows 11. However, we will briefly demonstrate the steps here.
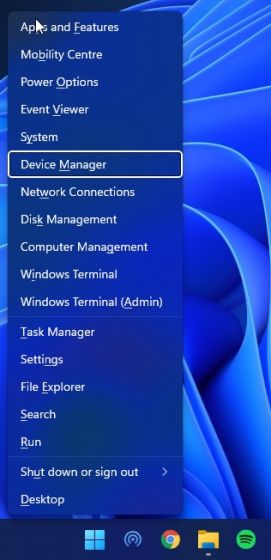
1. First, use the “Windows + X” keyboard shortcut to open the Quick Links menu. Here, select “Device Manager”.
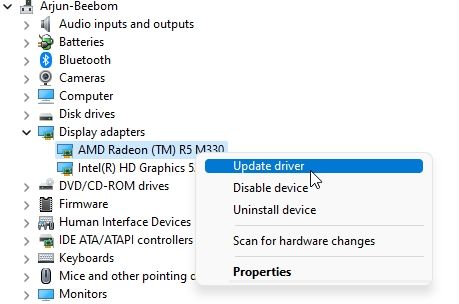
2. In the Device Manager window, choose the driver you want to update. For example, to update the graphics driver, expand the Display adapters menu, and right-click on one of the entries. Here, one of the entries is the integrated GPU, while the other is a discrete GPU from AMD (if your computer includes one). Then, click on “Update driver”.
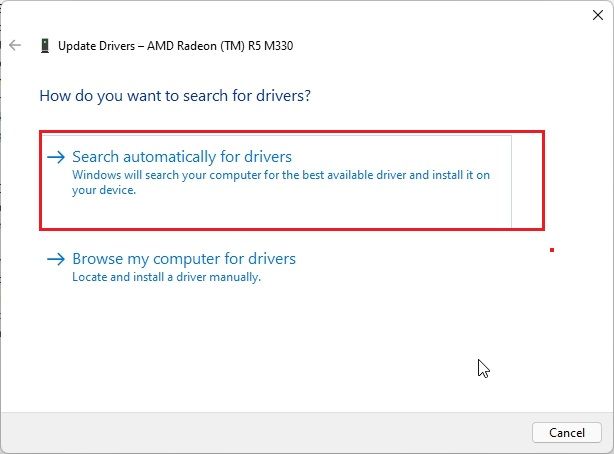
3. On the pop-up window that appears now, click “Search automatically for drivers,” and Windows 11 will look for the specific driver from Microsoft’s vast catalog of online drivers.
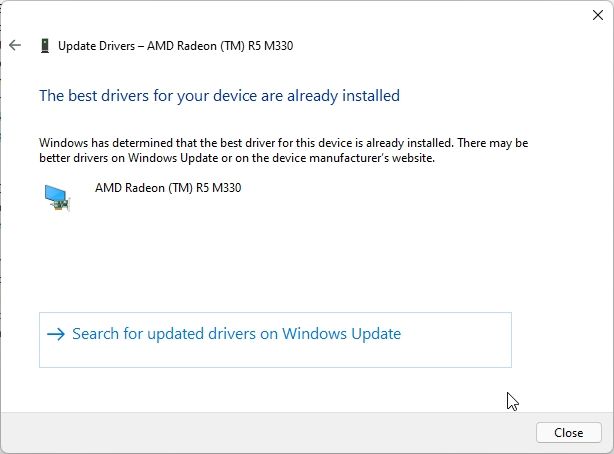
4. If there is an update available, it will install the latest driver and ask you to restart the PC. If not, it will let you know that the best driver is already installed on your Windows 11 PC. Repeat this process for all the hardware devices connected to your PC. After that, try to update your Windows 11 computer.
10. Boot Into Safe Mode
Finally, if nothing works and you are stuck in a boot loop with the “Undoing changes made to your computer” error on the screen, boot into safe mode and roll back the updates. Simply follow our guide on how to start Windows 11 in safe mode and make changes from the isolated environment. Here are the steps to follow.
1. If you are stuck on the “Undoing changes made to your computer” screen, turn off your PC. Now, turn on the PC and turn it off again. Do this 3-4 times, and your PC will be triggered to open the Recovery menu.
2. Once you are here, navigate to Troubleshoot -> Advanced options.
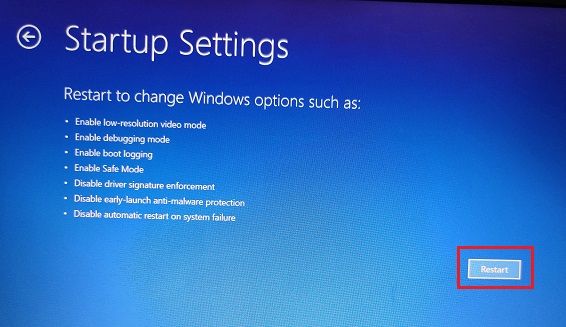
3. Then, move to the “Startup Settings” page and click the “Restart” button.
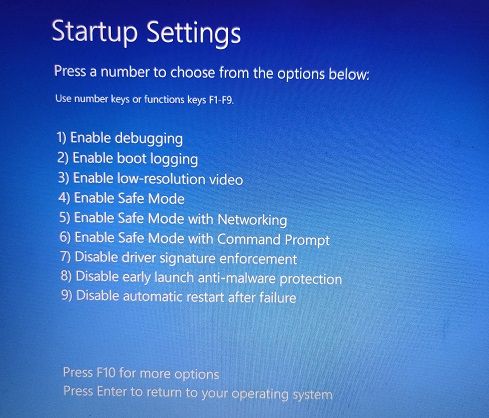
4. Now, press “4” or “F4” on the keyboard, and you will be taken to Safe mode straight away.
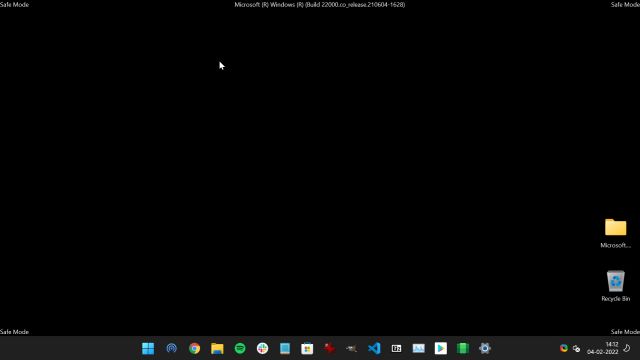
5. Within a few seconds, you will boot to Windows 11 Safe mode.
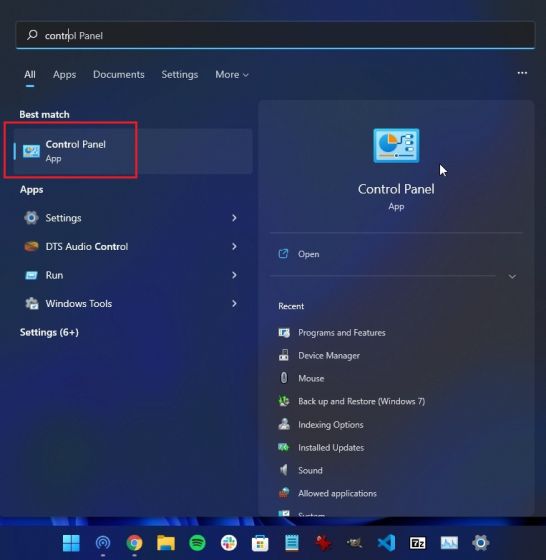
6. Now, press the Windows key once and search for “Control Panel“. Open it.
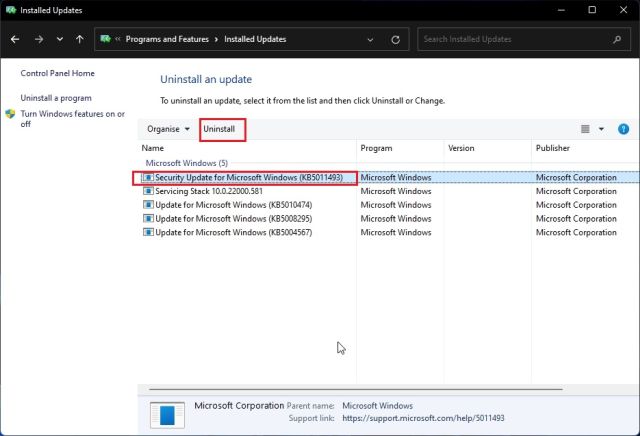
7. Here, go to Programs -> View installed updates.

8. Finally, click on the latest Windows 11 update and “Uninstall” it right away. Once it’s done, restart your computer, and you should boot back into Windows 11 without any errors.
Resolve Windows 11 Update Issues Right Away
So these are the 10 ways you can resolve Windows 11 update issues. If none of the methods worked for you, I would highly recommend you to check the log with the built-in Event Viewer. It can shine some light on the underlying issue that may be causing the update problem on your Windows 11 computer. Anyway, that is all from us. In case, you have forgotten your Windows 11 password and want to reset it, follow our tutorial linked here. And to fix Microsoft Store issues on Windows 11, head over to the linked guide. Finally, if you have any questions, let us know in the comments section below.