

How to Fix an Overheating Windows 11 Computer
Some common reasons for an overheating computer include poor ventilation, insufficient airflow, and overclocking. But specifically on Windows 11, you may experience high temperatures after upgrading or installing a Windows update.
The telltale sign of an overheating system is when the CPU starts to idle at 60-70° C. If you noticed a spike in CPU temperature after installing an update, it might be a case of a bad Windows update. CPU overclocking is another common reason for an overheating system.
If your computer has been running hot, here are a few troubleshooting steps to help you fix an overheating Windows 11 computer.
1. Install Pending Windows Updates
If you determine a recent Windows update to have caused your CPU to overheat, check if a fix is available. If it is a widespread issue, you can expect a hotfix via Windows update.
To update your Windows computer:
- Press Win + I to open Settings.
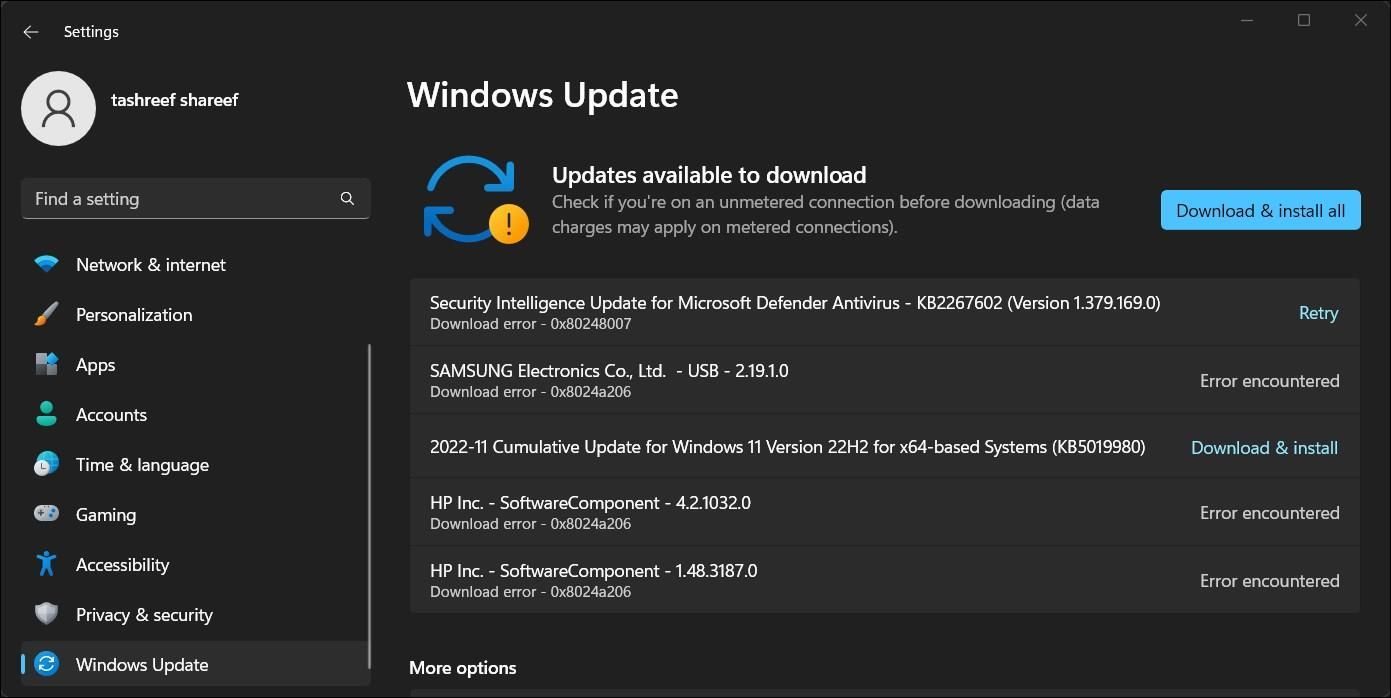
- Open the Windows Update tab in the left pane.
- Click on Check for updates. Next, download and install all the pending updates. Reboot your PC and check for any improvements.
2. Remove a Bad Windows Update
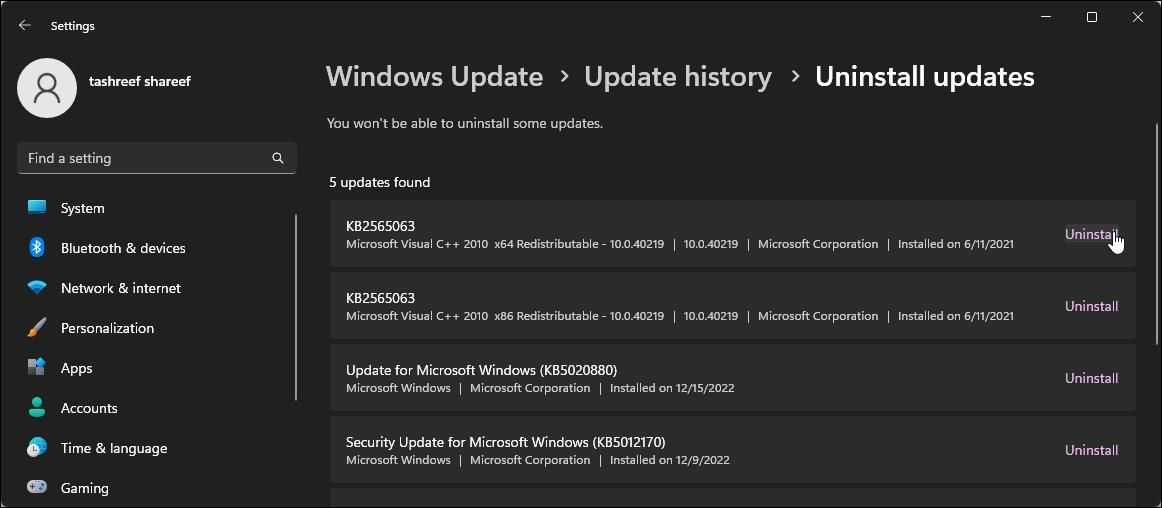
If your system started to overheat after a recent Windows update, try to uninstall the update to fix the issue. You can check the Windows update history in the Settings app. You need to look for an update that matches the timeline when your Windows 11 computer started to overheat. If found, uninstall the update to see if that resolves the problem.
You can manually uninstall Windows 11 updates using Settings and Control Panel. Once uninstalled, check if the CPU temperature is in the ideal range.
3. Check Background Apps for High CPU Usage
Background apps with high CPU usage are often responsible for an overheating computer. Even if the app is using only 5-6{5376dfc28cf0a7990a1dde1ec4d231557d3d9e6448247a9e5e61bb9e48b1de73} of your CPU resources, it may still be able to cause high CPU temperature.
You can use the Windows Task Manager to monitor background services and terminate them if necessary. To do this:
- Right-click on the Start menu and open Task Manager.
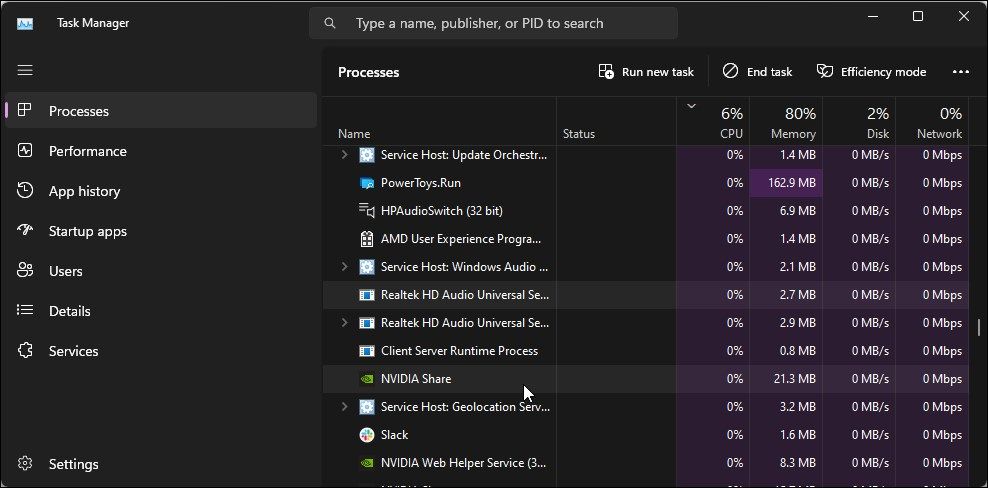
- In Task Manager, open the Process tab.
- Click the CPU column header to sort the list by CPU usage.
- Check if any background services have high CPU usage. For example, an audio service that is usually not a resource hog.
- End the process and check if the CPU temperature decreased. If yes, you’ll need to disable the service, and update the associated drivers to fix the problem.
4. Select the Balanced Power Plan
On Windows 11, you can choose from multiple power plans. By default, the system uses the Balanced power plan to offer sufficient performance and good battery life. If your laptop is set to use the high-performance power plan, it may cause your system to overheat.
Ideally, the CPU temperature should hover around the 70-80॰ mark under load with the high-performance power plan selected. But as a quick workaround, you can switch to the Balanced power plan to stop your laptop from overheating.
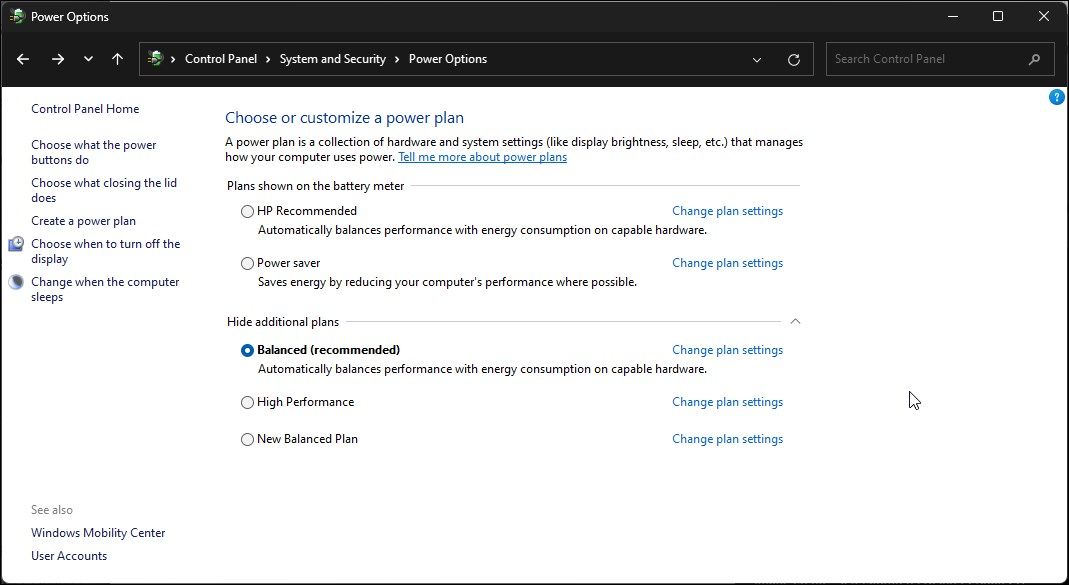
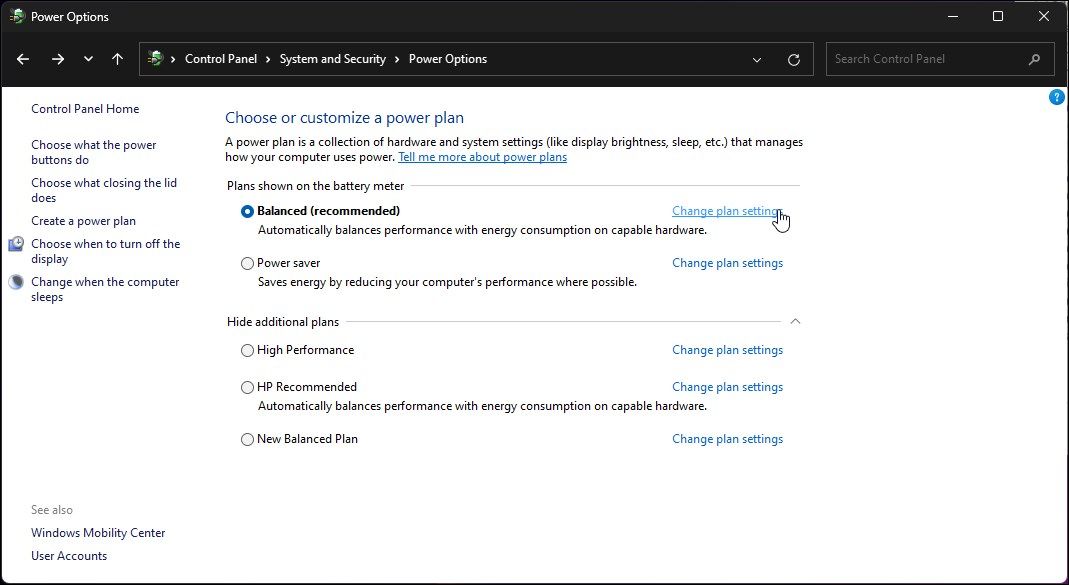
You can change the Windows Power Plan using Control Panel. Under Power Options, review your current plan and select Balanced (Recommended).
5. Change the Maximum Processor State
You can fix the Windows 11 overheating problem by changing the maximum processor state in processor power management. By default, the maximum processor state is set to 100{5376dfc28cf0a7990a1dde1ec4d231557d3d9e6448247a9e5e61bb9e48b1de73}. This means, if required, the processor can run at its factory potential and underclock when necessary.
If you don’t use your processor at 100{5376dfc28cf0a7990a1dde1ec4d231557d3d9e6448247a9e5e61bb9e48b1de73} all the time, you can throttle the maximum processor state to 99{5376dfc28cf0a7990a1dde1ec4d231557d3d9e6448247a9e5e61bb9e48b1de73} to fix the overheating issue.
To change the maximum processor state on Windows:
- Press Win + R to open Run.
- Type control and click OK to open Control Panel.
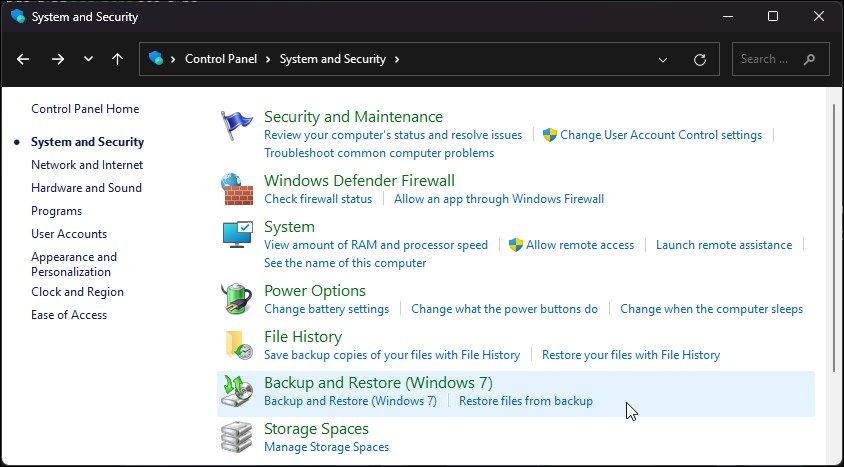
- Go to System and Security and click on Power Options.
- Next, click the Change plan settings option for your currently active power plan.
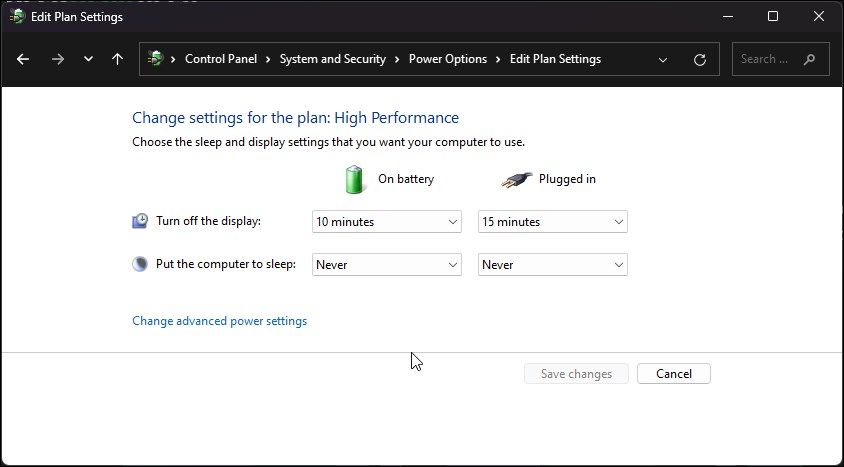
- Click on Change advanced power settings.
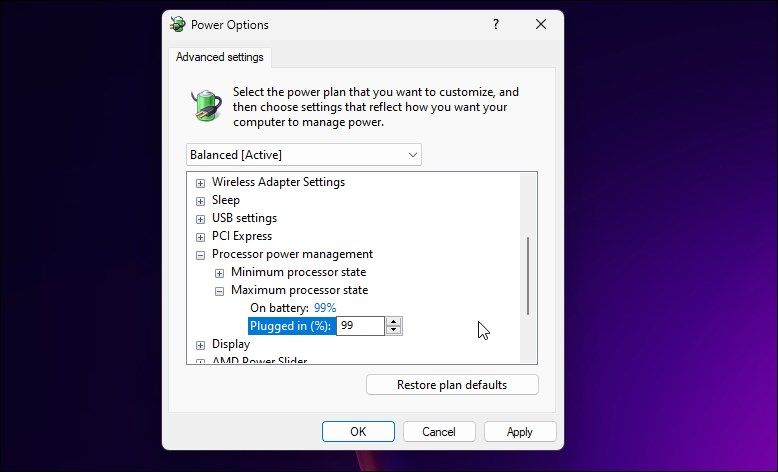
- Scroll down and expand the Processor power management section.
- Next, expand the Maximum processor state option.
- Select On Battery and change the value to 99{5376dfc28cf0a7990a1dde1ec4d231557d3d9e6448247a9e5e61bb9e48b1de73}.
- Select Plugged in and change the value to 99{5376dfc28cf0a7990a1dde1ec4d231557d3d9e6448247a9e5e61bb9e48b1de73}.
- Click Apply and OK to save the changes.
If the maximum processor state is missing, you can show the hidden minimum and maximum processor state using Command Prompt.
As the new configuration is applied, your CPU temperature should drop immediately. But this comes at a price. Changing the maximum processor state reduces your CPU speed. As a result, you may notice decrease in system performance during gaming sessions and other CPU-intensive tasks.
Again, this is not a solution, as you shouldn’t have to manually tweak these settings to get optimal thermal performance for your computer. But this is a known workaround and should work for most people who don’t need to use the maximum potential of their CPU all the time.
If the issue persists, your computer is likely overheating due to insufficient airflow, fan problems, and driver issues.
6. Disable Windows Search Indexing
Searchindexer is a Windows service that facilitates faster Windows search. While it works in the background, this service can cause high CPU usage, thus resulting in high temperatures.
You can manage search indexing to exclude specific folders from indexing. You can also completely turn off Windows Search Indexer to see if that helps resolve the overheating problem on your computer.
7. Adjust the Performance Option to “Best Performance”

If your computer is overheating under heavy use like gaming, you can adjust your system to offer the best performance. Adjusting for best performance comes at the cost of reduced visual effects.
To adjust your computer for best performance:
- Press the Win key and type Adjust performance.
- Click on Adjust the appearance and performance of Windows option from the search result.
- Next, select Adjust for best performance in the Performance Options dialog.
- Click Apply and OK to save the changes.
8. Go Back to the Previous Version
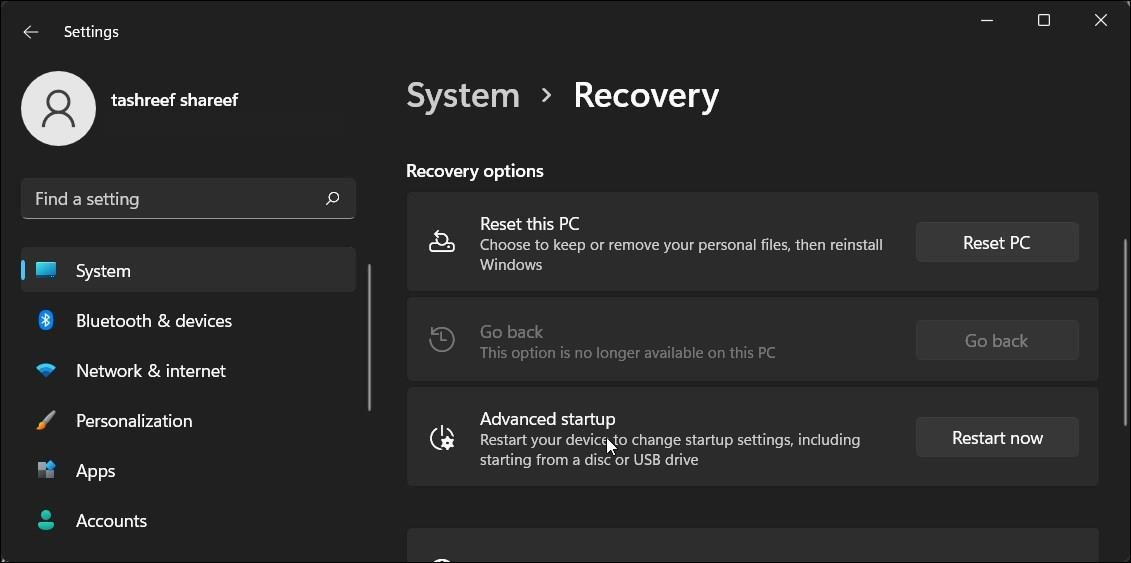
If you are unable to uninstall a Windows update, you can use the Go back recovery option to reinstall the previous version of Windows. This option is only available for 10 days after a major Windows update is installed
To use the Go back option:
- Press Win + I to open Settings.
- In the System tab, scroll down and click on Recovery.
- Under the Recovery options section, click on Go back. Follow on-screen instructions to go back to the previous version of Windows.
If the option is greyed out, the option is no longer available on your PC. Windows disables the Go back recovery option 10 days after the upgrade. You can, however, extend the 10 days go-back period to 60 days on Windows 11 using Command Prompt.
9. Perform a System Restore
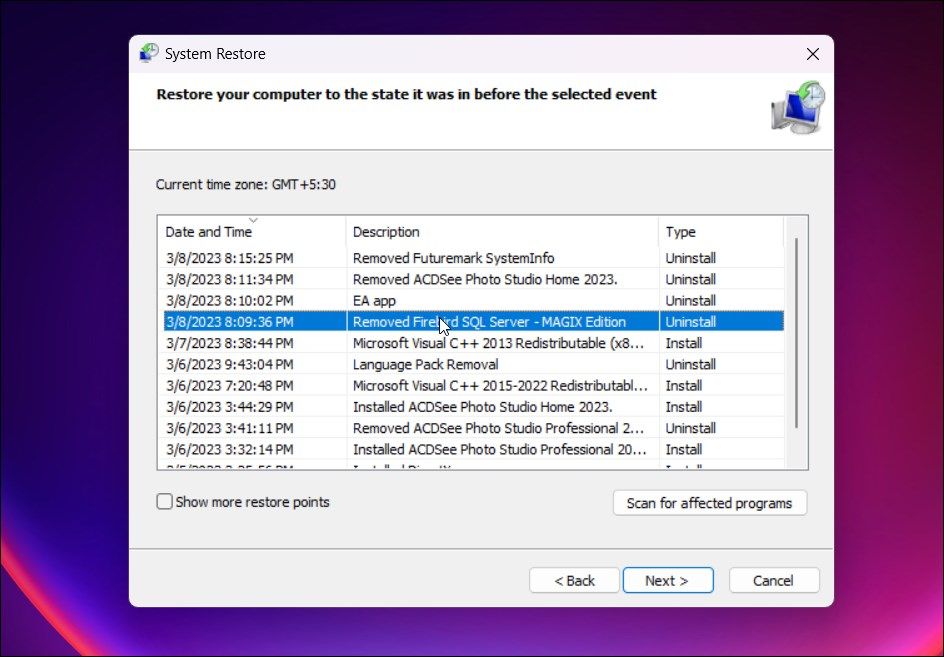
Windows 11 automatically creates a snapshot of your system’s current state, known as restore points. A new restore point is created before installing an update. You can use an existing restore point to undo the changes and fix any issues that may have occurred due to a bad Windows update or recent changes made to your system.
To perform a system restore:
- Press Win + R to open Run.
- Type rstrui.exe and click OK to open the System Restore dialog.
- Click Next.
- Select the most recent restore point. Make sure the restore point is dated before you noticed the overheating issue.
- Click Next and then click Finish.
A restore point won’t remove your files and folders. However, it will remove apps and games installed after the restore point was created.
10. Check for Hardware Issues
A clean install should fix any issues occurring due to a software conflict. But, before performing a clean install, look into other issues to fix your overheating laptop.
First and foremost, check your laptop vents and clean them if necessary. Next, make sure to keep your laptop on a hard surface that allows the vents to displace hot air. A good laptop cooler can offer external cooling support and keep the temperature low.
11. Clean Install Windows 11
A Windows clean install may seem extreme, but it can be necessary to purge the remanent system files and drivers after the upgrade. Some of these drivers and files can cause your system to malfunction and overheat. If you have upgraded to Windows 11 from Windows 10, a clean install may be due.
To clean install Windows 11, all you need is a Windows 11 bootable USB drive. Next, back up your personal files and folders to an external drive. Once done, boot from the USB drive and reinstall the OS.
Fixing an Overheating Windows 11 Computer
To fix an overheating Windows 11 computer, troubleshoot it for background services and bad Windows updates. Additionally, unblock the vents, clean the internals, and use a laptop on a hard surface to allow sufficient airflow.