

How to Fix a Persistent “Enter Network Credentials” Message on Windows
The network credentials on your PC are important because they prevent others from using your computer across the network. While this feature is essential to protect your important files and improve the overall security of your system, it can sometimes cause issues as well.
A common problem is when the network credential manager keeps displaying the “Enter network credentials” dialog, even when you enter the correct credentials. In this guide, we will walk you through some troubleshooting methods you can try to fix this issue for good.
1. Modify the Advanced Sharing Settings
An incorrectly-set Advanced Sharing setting is one of the most common causes of this error. Ideally, your PC should be allowed to manage homegroup connections. You can also use the Advanced Sharing settings page to disable password-protected sharing, which will allow you to share files without needing to log in.
Here is how you can configure the Advanced Sharing settings correctly:
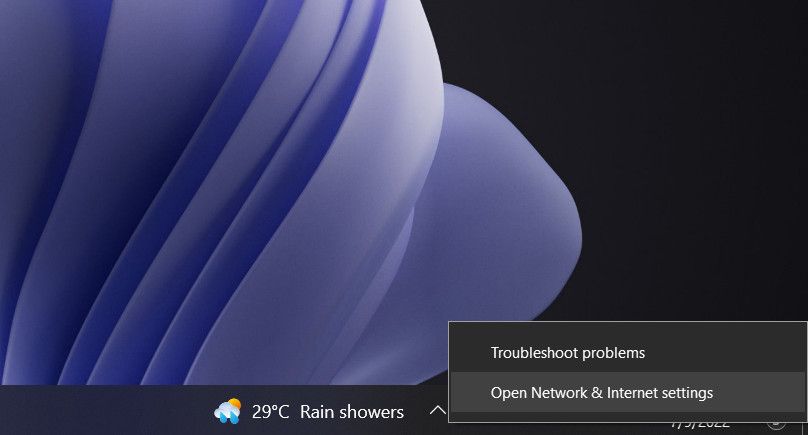
- Locate the network icon on your taskbar and right-click on it.
- Choose Network and Internet settings from the context menu.
- In the following window, select Network and Sharing Center.
- Choose Change advanced sharing settings option in the left pane.
- Now, enable the Allow Windows to manage homegroup connections (recommended) option under Homegroup connections.
- Click Save changes (you will need administrative access for this).
- Now, expand the All Networks section and enable the Turn off password protected sharing option.
- Hit the Save changes button to complete the process.
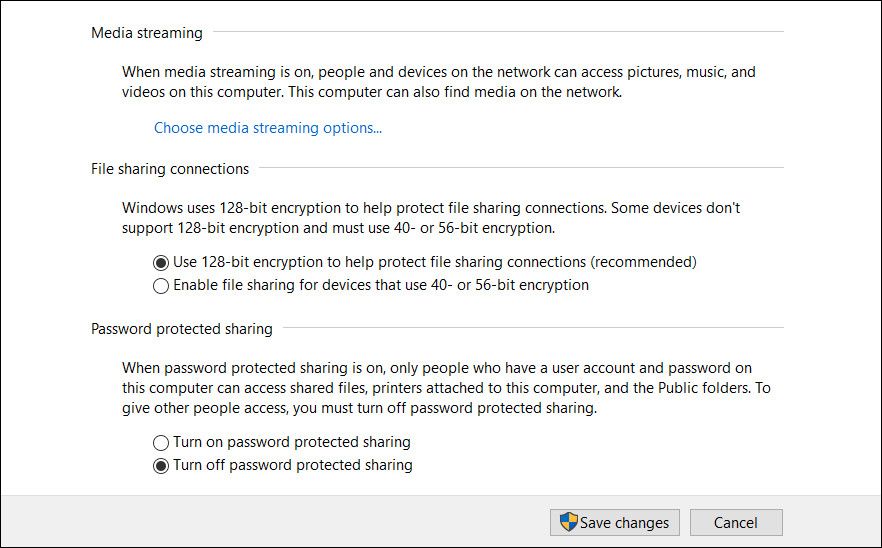
After you’ve transferred the files, re-enable password-protected sharing so that others don’t get easy access to your PC.
2. Use Your Microsoft Account Credentials or the Computer’s Name
You can also try logging onto the target PC using the Microsoft account credentials instead of the local username and password.
Alternatively, you can also try using the name of the computer you are using alongside your username in the text field associated with the Username. Do not enter a space, bar, or any other symbol between the names.
If the problem is associated with the credentials, one of these two methods is likely to help you get rid of it for good.
3. Manually Add the Credentials of the Target Computer to the Credential Manager
You can also try manually adding the credentials of the targeted computer in the Credential Manager and see if that makes a difference.
Here is how you can do that:
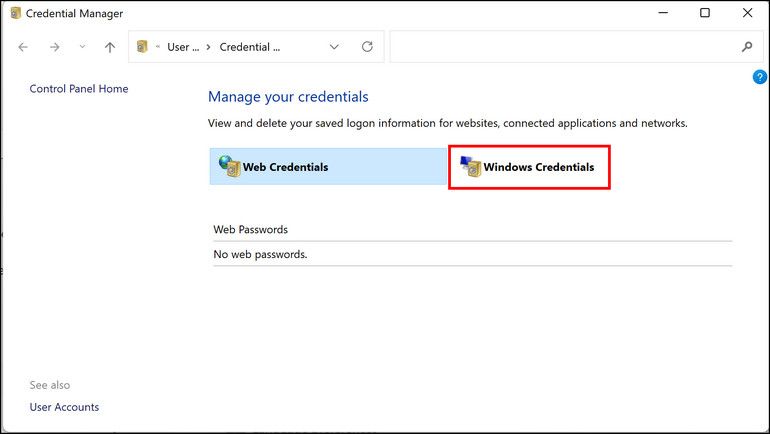
- Type “Credential Manager” into Windows Search and click Open.
- Select Windows Credential and click on Add a Windows Credential.
- Now, add the username, computer name, and password of the computer you are trying to access. Check if you can now share files with the other device successfully.
4. Create a New User Account on Both Devices
There are times when user accounts become corrupt and stop you from performing certain actions. If this has happened, either on your PC or the target computer, it can interrupt the file sharing process.
To fix this problem, first, try switching to a different user account on your own computer and see if that works. If this strategy fails, then we recommend creating a new user account on both devices with the same username and password. Make sure that both accounts have administrative privileges.
If the root of your issue was a corrupt user account, this should be enough to fix the issue.
5. Restart the Credential Manager Service
The issue might also be with the Credential Manager service itself instead of the targeted computer or the network settings of your device. In this method, we will first enable the Credential Manager service if the service is disabled.
If it is working already, then we will proceed with restarting the service and see if that does the trick.
Here is what you need to do:
- Press Win + R to open Run.
- Type services.msc in the Run and click Enter.
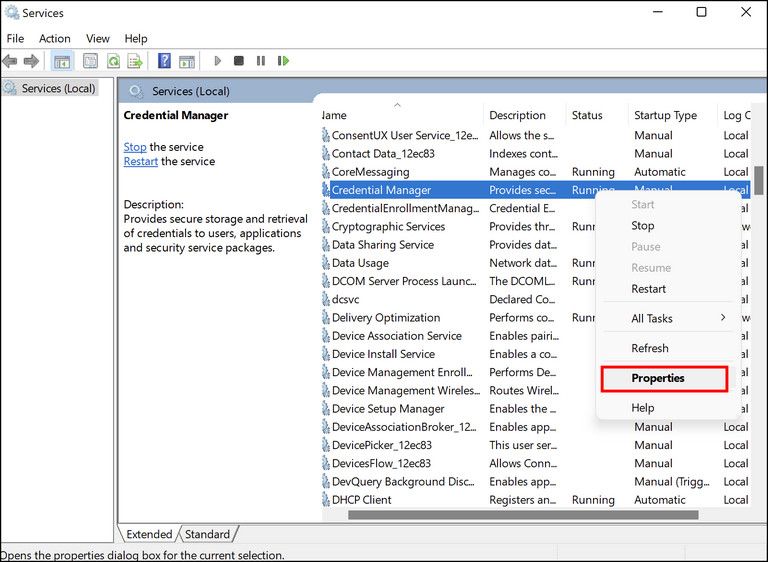
- In the following window, look for the Credential Manager service and right-click on it.
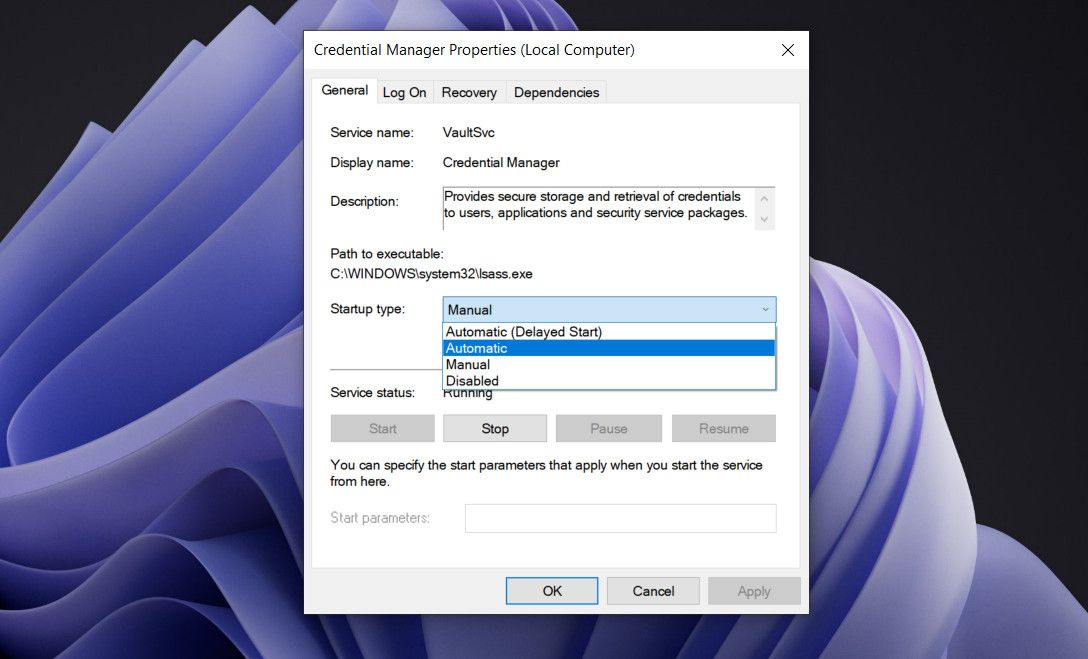
- Choose Properties from the context menu.
- If the service is disabled, click on the Start button to enable it.
- In case it is working already, click on the Stop button, wait for a few seconds, and then hit the Start button.
- Make sure that the Startup type is set to Automatic.
- Click Apply > OK to save the changes.
Now try connecting to the targeted computer and see if you can do so without any problems.
6. Try Using Safe Mode With Networking
If the credentials you are entering and all the network configurations on the system are correct, something might have gone wrong on a system level.
In this case, you can boot into Safe Mode to determine the cause of the issue. Safe Mode starts Windows with only the basic set of drivers and apps — the ones that are essential for the operating system to function.
There are several types of Safe Mode including Minimal, Alternate Shells, Active Directory Repair, and Network. In this method, we will be booting Windows into Safe Mode with Networking. This mode launches Windows with the drivers and programs required to connect the system to the internet or other devices over the network.
If the error at hand does not appear in Safe Mode, then there is a chance that malware or other software issues are causing the problem.
Here is what you need to do:
- Head over to the Start menu and click on the Power button.
- Choose Restart while holding the Shift key.
- Wait for the Windows to boot into the recovery mode and then choose Troubleshoot > Advanced Options.
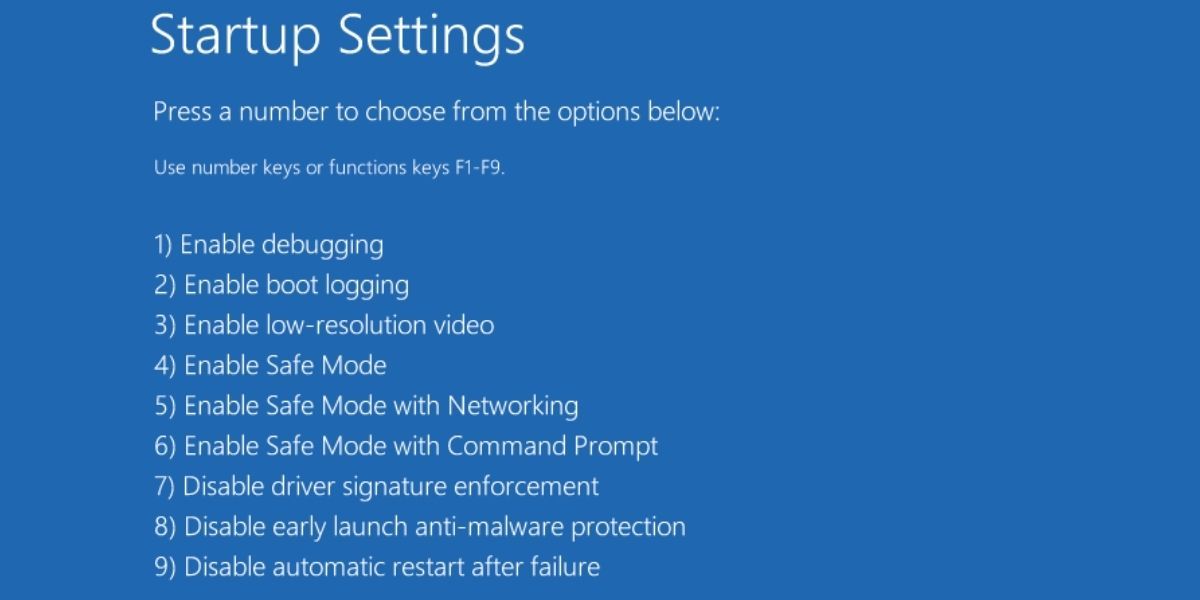
- Navigate to Startup Settings > Restart.
- In the following window, press the F5 key on your keyboard to boot into Safe Mode with Networking.
- Once you are logged into Safe Mode, try connecting to the device you were previously trying to connect to. If the error does not appear in Safe Mode, then you might want to report this issue to Microsoft’s official support team and wait for a fix from their side.
In case you cannot access this Windows state using the steps outlined above, you can try other ways of booting into Safe Mode.
Share Data Over Network Without Issues
Windows has made it simpler to share your files and other data across networks, but there are times when you run into unexpected errors. Hopefully, one of the methods mentioned above did the trick for you in fixing the issue under consideration.