

6 Ways to Fix Windows 11 Stuck on Preparing Windows Loop
There are times when Windows gets stuck while performing critical operations like installing security updates. Recently, users have reported that their Windows 11 PC gets stuck in the Preparing Windows loop, which prevents them from booting into Windows after the operating system is updated.
This error typically occurs when either some critical system files are missing, or the size of the update is big. Below, we have listed some potentially effective troubleshooting methods that you can try if you find yourself in a similar situation.
1. Restart Your PC
Before we move towards any complicated troubleshooting methods, we suggest that you try to restart your PC (if you can access the basic Windows features) and see if that makes any difference. Often, Windows gets stuck while performing a particular operation due to a temporary corruption error within the system.
If the error is not severe, then restarting should fix the problem for you.
Follow these steps to proceed:
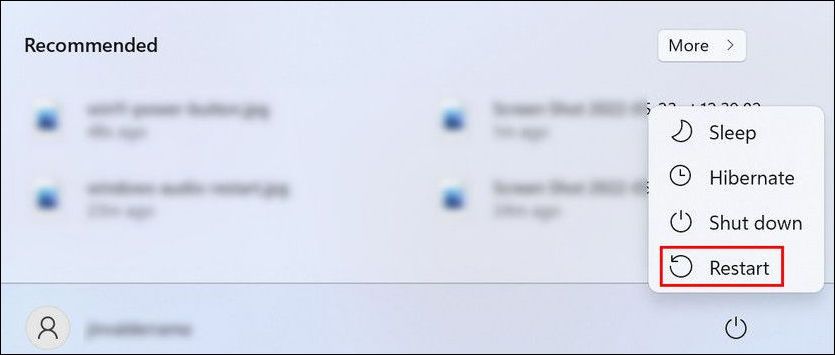
- Click on the Power icon on the Windows menu.
- Choose Restart from the context menu.
If the basic restart method did not do the trick for you, then you can try to perform a hard reboot. This seems to work when the system gets stuck in the ‘Preparing to configure Windows’ loop upon attempting to shut the system down.
However, this method involves cutting power from the device, so we recommend that you only proceed with it if you already have experience doing so.
Here is how you can perform a hard restart:
- Press and hold the power button until the computer shuts down.
- Disconnect any peripherals from your computer and unplug it from your power source. If it has a battery, remove it.
- Wait for a couple of minutes for the PC to cool down.
- Plug your computer back into the power. If you removed its battery, insert it back, and power your device on.
- Install all the pending updates available after reboot, and restart your PC again.
Hopefully, the system will not get stuck in the preparing Windows loop this time.
2. Troubleshoot in Repair Mode
If both the methods of restarting Windows did not do the trick for you, then it is time you proceed with a bit more complicated methods to identify the cause of the issue and fix the problem.
In this method, we will first boot into the Repair Mode and then try a few different troubleshooting methods to get Windows out of the preparing loop.
After booting into the Repair Mode, we suggest that you take your time to perform all the methods one by one until one works for you.
Boot Into Repair Mode
The easiest way to boot into the Repair mode is by using a keyboard shortcut. In the configuration screen, press the F11 key on your keyboard repeatedly till Windows displays an Advanced Startup screen.
If this does not work for you, shut down your PC while you are on the configuration screen using the power button. Do this two times, and upon the 3rd reboot, Windows will automatically launch the Repair Mode, where you will see the Advanced Startup menu.
In case this fails too, then the only way to boot into the Repair Mode is by creating an installation media on another PC. The steps of doing so on both Windows 10 and Windows 11 are almost the same; just make sure that you install it directly to a USB or a disc.
After the installation media is created, insert the media into your computer and power on your PC while pressing your respective BIOS boot menu key.
Run System Scans
After you have successfully booted into the Repair mode, you can start performing troubleshooting methods. The first method is running the SFC, DISM, and CHKDSK utility via Command Prompt.
These utilities will scan the protected system files and disks for inconsistencies causing the issues at hand. If your system is infected with any such errors, the tools will resolve the problem by replacing the faulty system files.
Follow these steps to proceed:
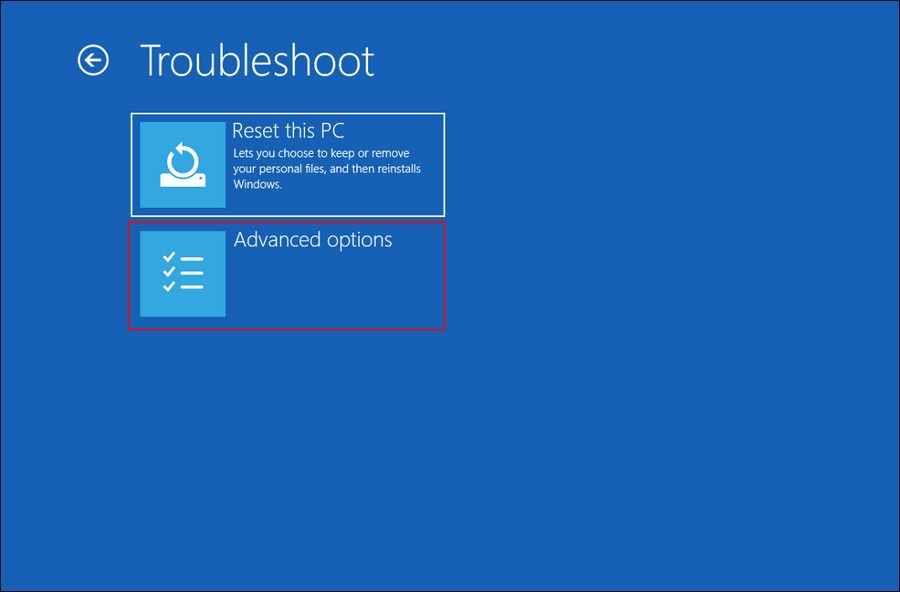
- In the Repair mode, head over to Troubleshoot > Advanced options.
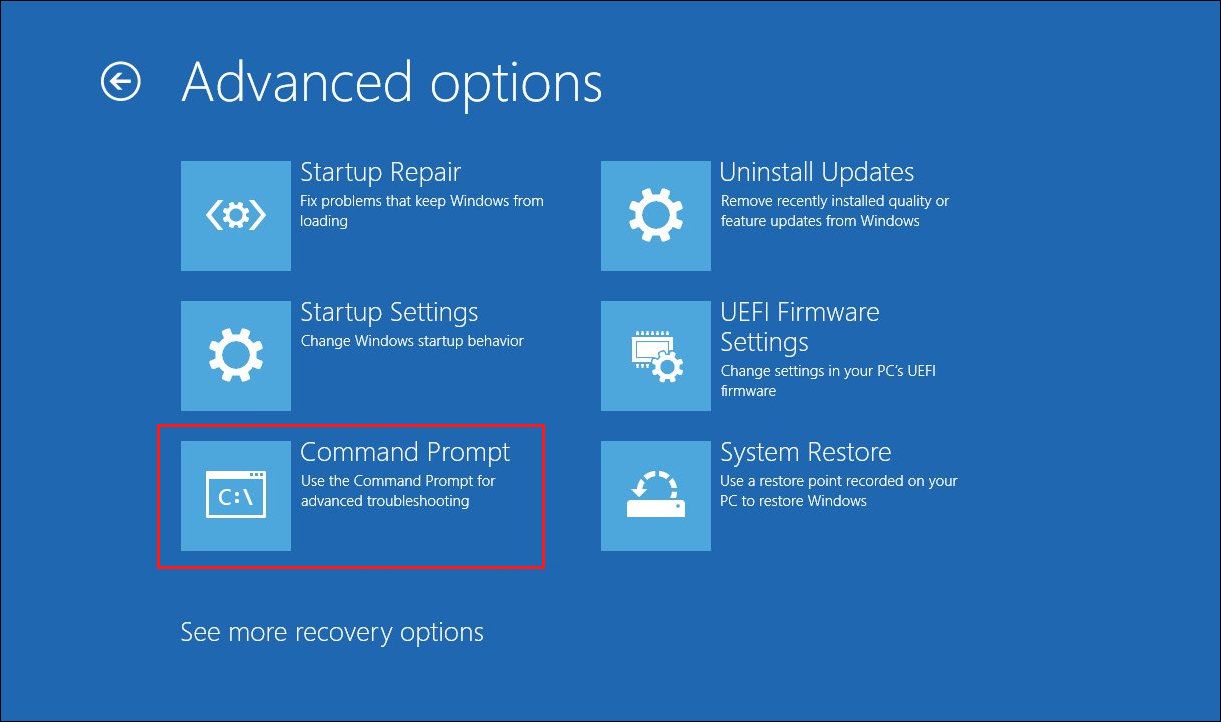
- Choose Command Prompt.
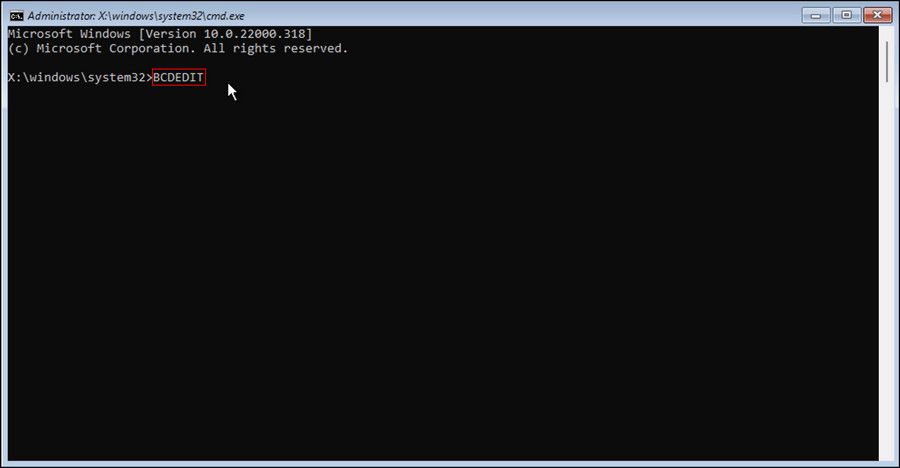
- In the following window, type BCDEDIT and click Enter.
- Look for the drive in which Windows is installed. Typically, it is the Drive C, but that may not be the case for everyone.
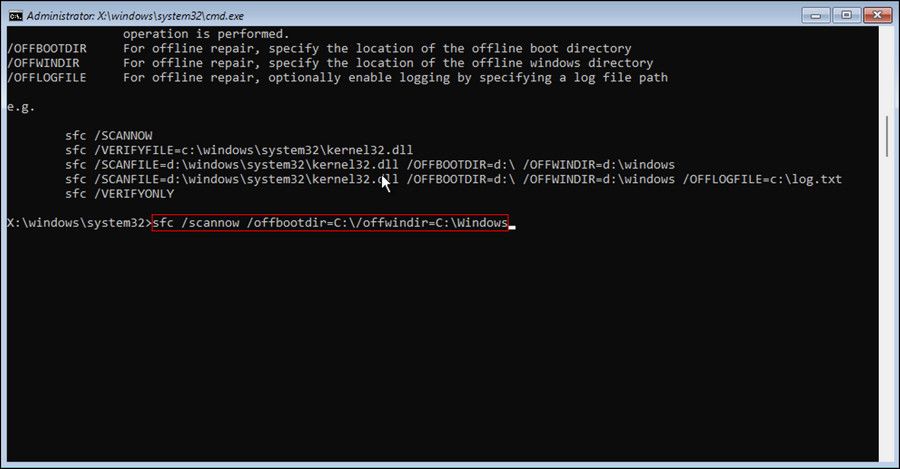
- Then, execute the following command. Replace the <Windows_Drive_Letter> with the letter of the drive containing Windows.
sfc /scannow /offbootdir=<Windows_Drive_Letter>: /offwindir=<Windows_Drive_Letter>:windows
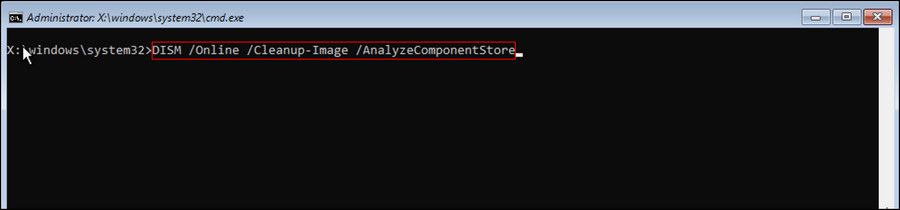
- After the command is executed, proceed with executing the following commands:
DISM /Online /Cleanup-Image /StartComponentCleanup
DISM /Online /Cleanup-Image /AnalyzeComponentStore
- Then, execute this command:
DISM /Online /Cleanup-Image /RestoreHealth /source:F:SourcesInstall.wim:1 /LimitAccess
- Finally, run the Check Disk utility by executing the following command. Make sure you insert your relevant drive letter in the place of [driveletter]:
chkdsk [driveletter] /f /r /x


You can now restart your PC and see if executing the command above made a difference.
Launch Safe Mode
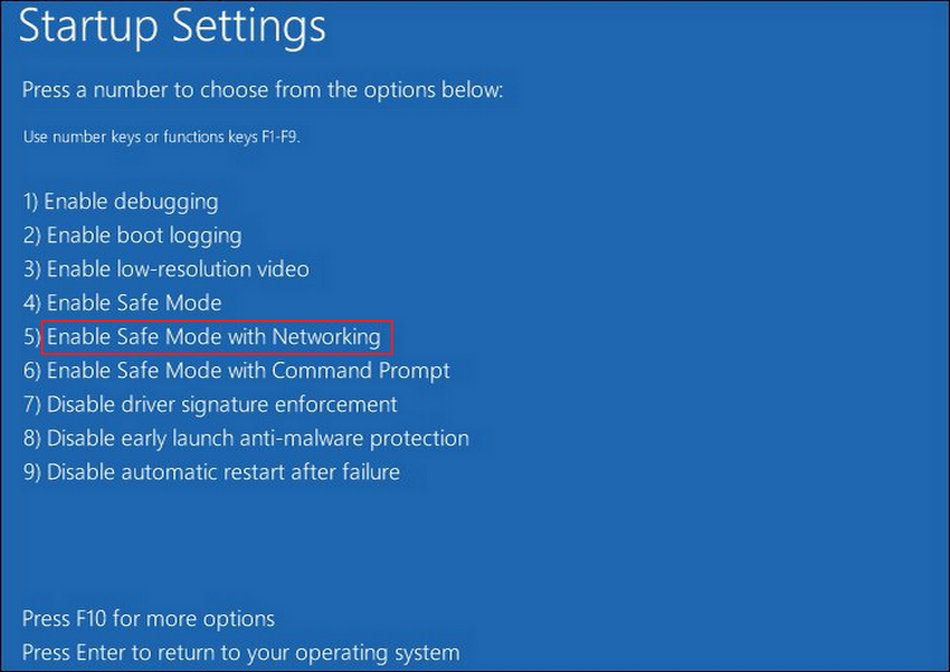
Safe Mode with networking boots your system with only the set of drivers and programs essential for it to run. It is basically a diagnostic mode that helps you identify the cause of an error and then fix the problem.
To boot into Safe Mode, follow these steps:
- Launch the Repair Mode and navigate to Troubleshoot > Advanced options > Startup settings.
- In the following window, click on the Restart button.
- Then, press F5 on your keyboard to boot into Safe Mode.
- Once you are in the Safe Mode, head to the Start menu.
- Choose Shut down or Sign out > Restart.

Check if, upon reboot, your system launches without any problems. You can also add a Safe Mode shortcut to Windows 11’s boot menu to launch it faster if something like this happens in the future again.
Uninstall Updates
Another reason you might encounter the issue at hand is corrupt or faulty updates. If you started experiencing the issue after updating your system, you could uninstall the updates.
Here is how:
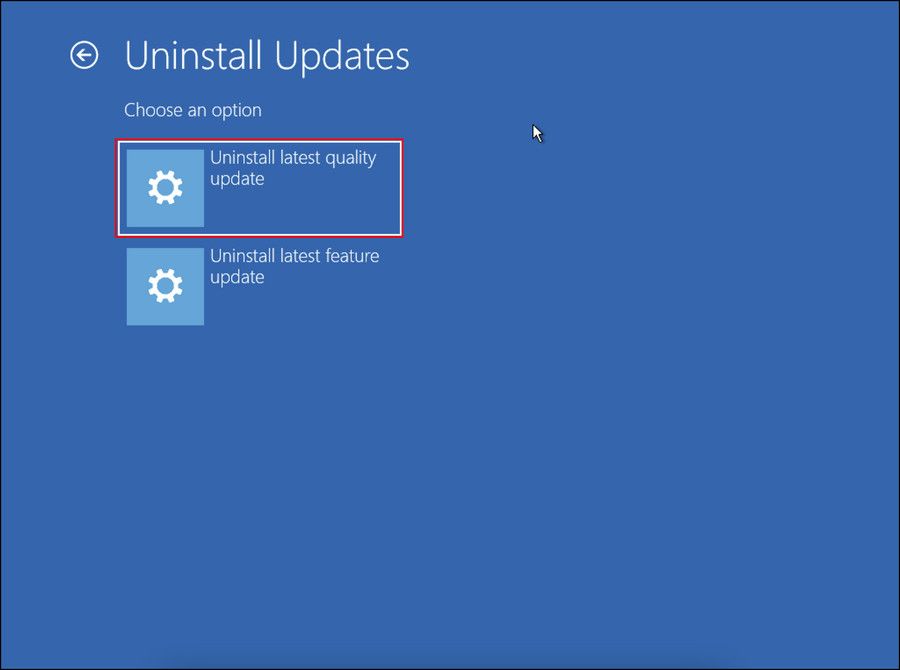
- In Repair Mode, navigate to Troubleshoot > Advanced options > Uninstall Updates.
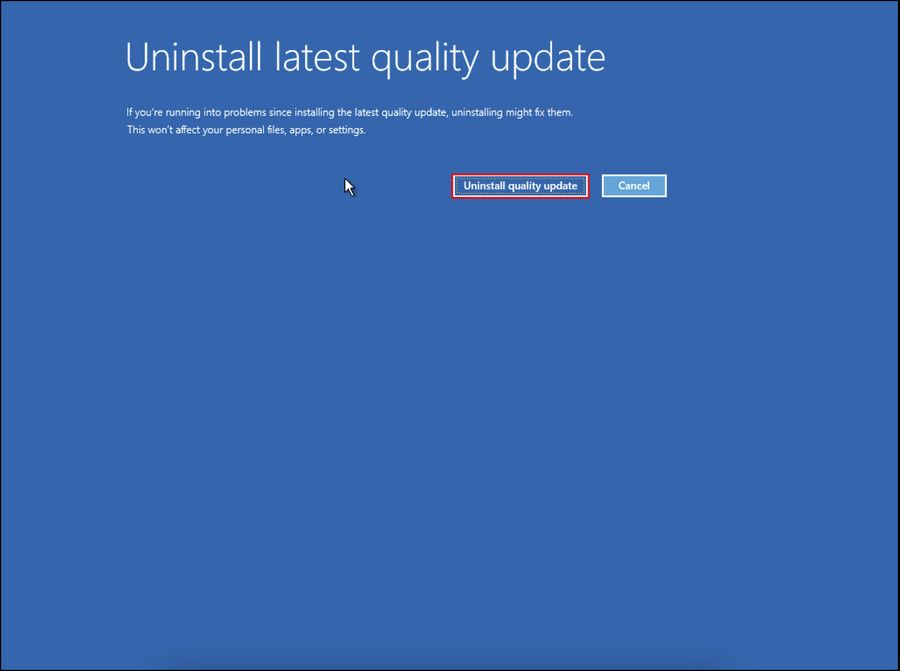
- In the next window, click on Uninstall latest quality update option.
- Click on the Uninstall quality update button.
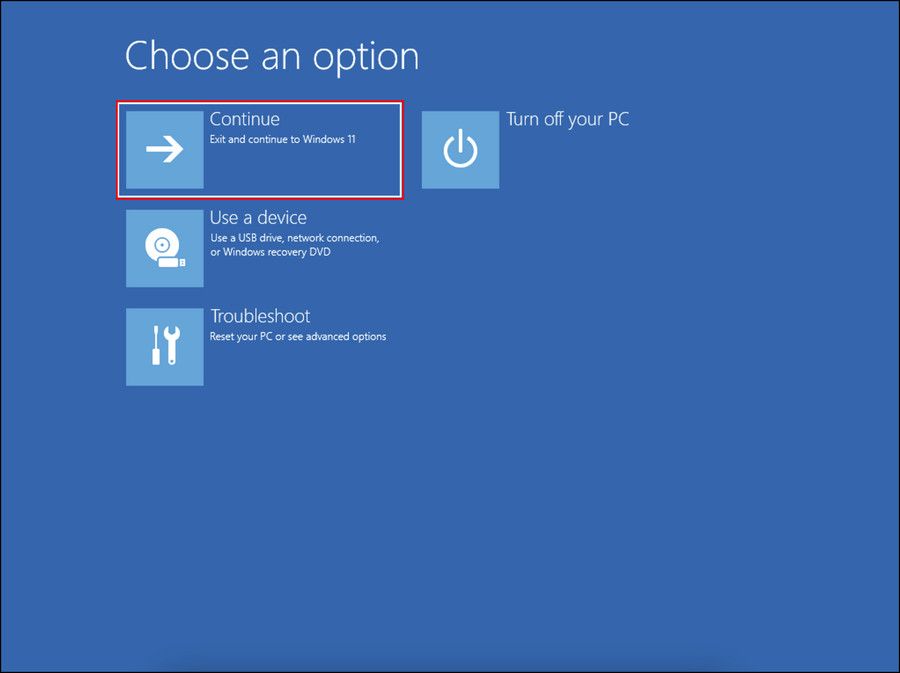
- Once the uninstallation process is complete, click on the Done button.
- Then, hit Continue to launch Windows.
Reset PC
Finally, if the methods above have not proved to be effective, then the only viable solution at this point is resetting the PC.
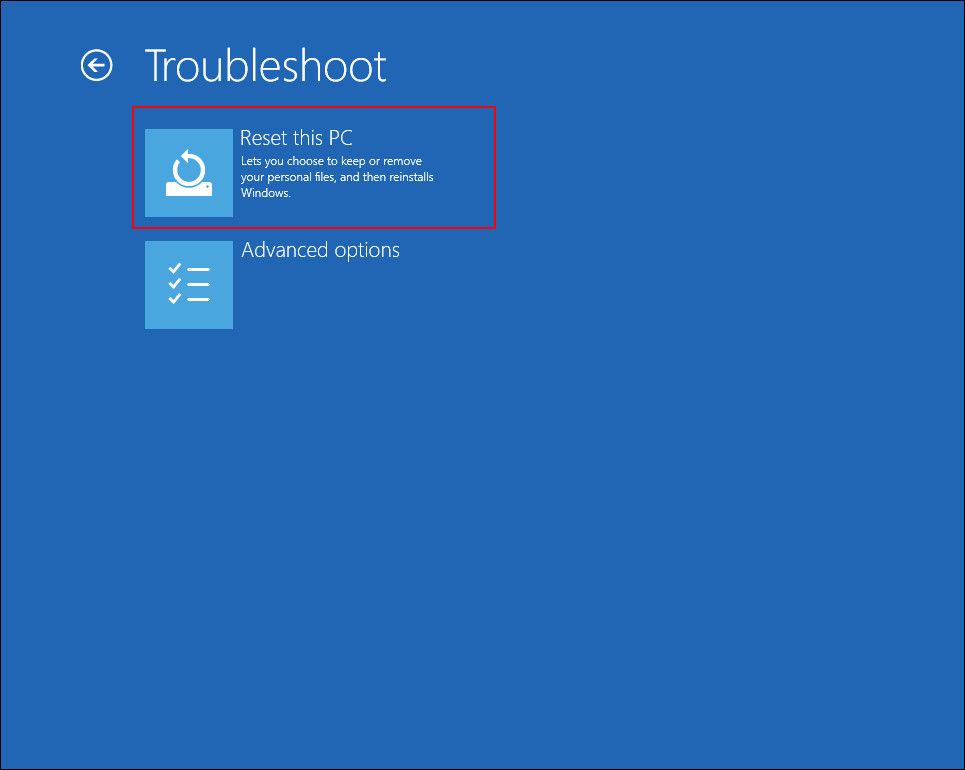
- In Repair Mode, head over to Troubleshoot > Reset this PC.
- Follow the on-screen instructions to proceed.
This should fix the issue for you.
Preparing Windows Loop Fixed for Good
After performing the troubleshooting methods above, you should be able to boot into Windows successfully. Upon booting, we suggest you install the pending driver and system updates. This will help you stay away from any such issues in the future.