

6 Ways to Fix the Windows Shell Experience Host Causing High CPU Usage on Windows 10
When your Windows 10 computer starts acting sluggish, it’s always a good idea to fire up Task Manager to see what could be causing the problem. If you did that and discovered that a process called Windows Shell Experience Host is using 100{5376dfc28cf0a7990a1dde1ec4d231557d3d9e6448247a9e5e61bb9e48b1de73} of the CPU’s resources, you might be wondering how you can get it to behave again.
Below, we’ll discuss six potential fixes you can try to get Windows Shell Experience Host to stop impacting your Windows 10 PC’s performance so much. You’ll even learn more about this process along the way.
1. Use a Picture or Solid Color Background
One of the main functions of Windows Shell Experience Host is changing the background of your Windows 10 desktop. Sometimes, the process can misbehave if you’re using a slideshow background. There’s a simple fix to this: change your desktop background to be either a picture or a solid color.
To do that, press Win + I to open the Settings app and then navigate to Personalization > Background. When you check the dropdown under the Background heading, it will say Slideshow.

Then, click the dropdown and set it to either Picture or Solid color.

Check Windows Shell Experience Host in Task Manager and see if its CPU usage has gone down.
2. Set Accent Color Picking to Manual
An accent color in Windows 10 is the color that creates a contrast to or compliments the color of the theme you’ve applied to Windows.
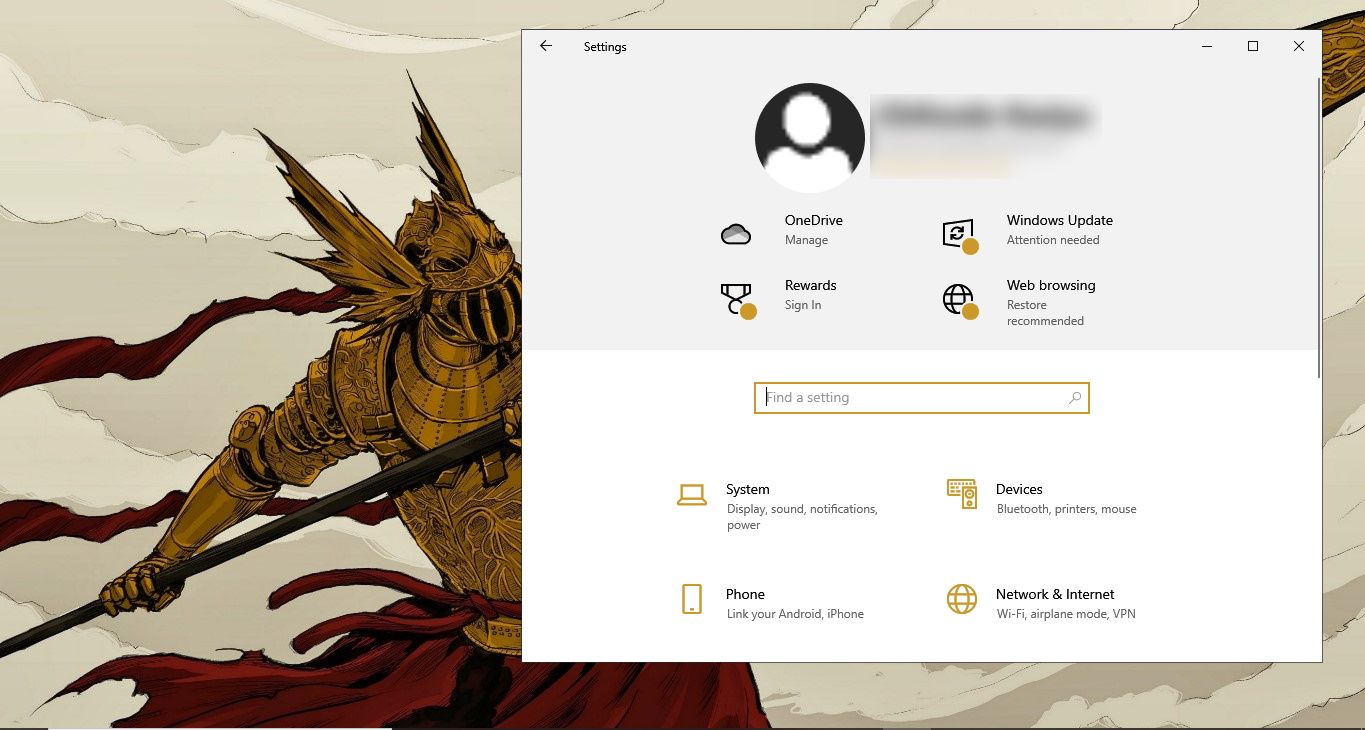
For instance, in the screenshot below, you can see that icons and other elements in the Settings window are brown to compliment the Elden Ring video game theme for Windows in the background. And the Windows Shell Experience Host is responsible for setting those colors.
By default, accent color picking is automatic in Windows 10, and this can cause 100{5376dfc28cf0a7990a1dde1ec4d231557d3d9e6448247a9e5e61bb9e48b1de73} CPU usage problems with Windows Shell Experience Host. You can easily solve this by setting accent color picking to manual.
To do that, press Win + I to open the Settings app and navigate to Personalization > Colors. Then, uncheck Automatically pick an accent color from my background.

With automatic accent color picking turned off, check to see if Windows Shell Experience Host is still misbehaving.
3. Turn Off Transparency Effects for the Start Menu and Taskbar
Another one of Windows Shell Experience Host’s main functions is to handle transparency effects for the Start Menu and Taskbar. If you’re experiencing high CPU usage from the process, perhaps disabling these effects can help solve the problem.
To do that, press Win + I to open the Settings app and head to System > Ease of Access > Display. There, you’ll find the Show transparency in Windows toggle. If it’s set to On, click it to turn it off and disable transparency effects for the Start Menu and Taskbar.
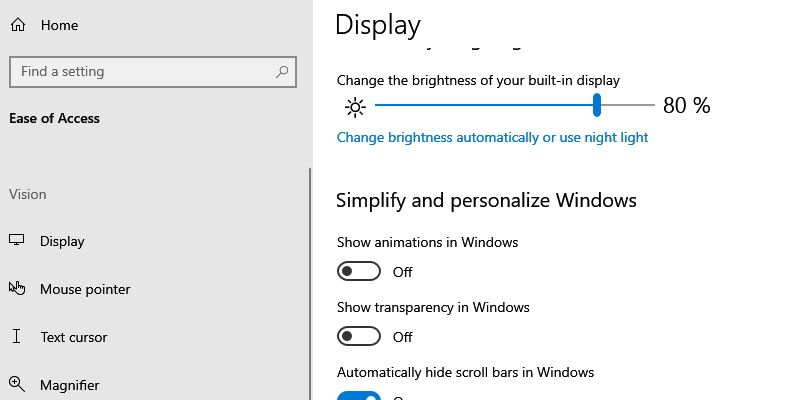
Once the toggle is set to Off, check to see if Windows Shell Experience Host is still hogging system resources.
4. Rule Out a Rogue Windows Shell Experience Host Process
When you see a process that normally behaves so well acting up, it could mean one thing: it’s not the real thing.
So if Windows Shell Experience Host is causing 100{5376dfc28cf0a7990a1dde1ec4d231557d3d9e6448247a9e5e61bb9e48b1de73} CPU usage out of the blue, you should determine if the process you’re seeing is authentic or malware. If it’s malware, we recommend performing an offline scan with Microsoft Defender or a full system scan with any third-party antivirus software you have installed.
5. Try Limiting the Windows Shell Experience Host’s CPU Usage
Windows Shell Experience Host is an important process, and you should not attempt to kill it. Instead, we recommend limiting its CPU usage to prevent it from making your system sluggish.
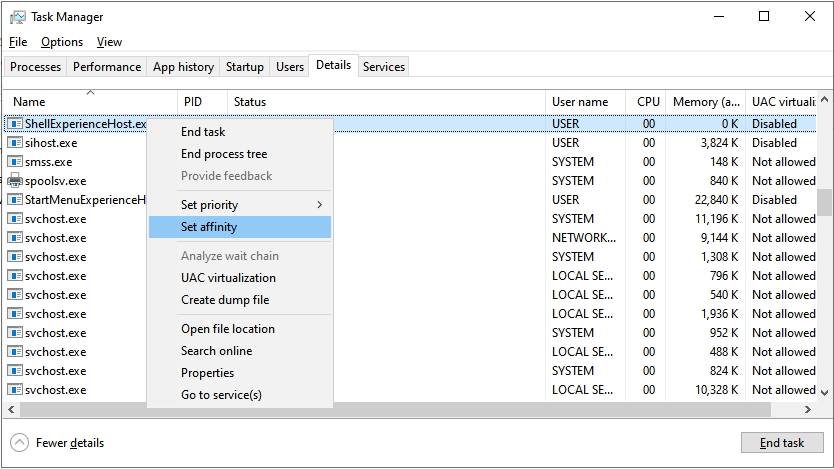
To do that, right-click Start and select Task Manager. In the Details tab, locate ShellExperienceHost.exe, right-click it, and select Set affinity.
Uncheck at least half of the available CPU cores to limit their usage by the process and then click OK.
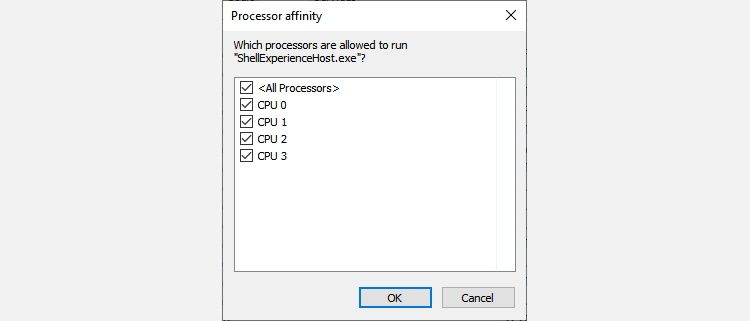
Now check to see if the process is using less CPU afterward.
6. Update Your Windows 10 Installation
Sometimes Windows Shell Experience Host can be using up a lot of CPU power due to a glitch in Windows 10. You should update the OS just in case Microsoft has released a bug fix that can address the issue.
If you have automatic updates available, then you don’t need to do anything since your computer will update itself in the background. But if you’ve turned off automatic updates in Windows 10, right-click Start and select Settings > Update & Security > Windows Update. Then, click Check for updates.
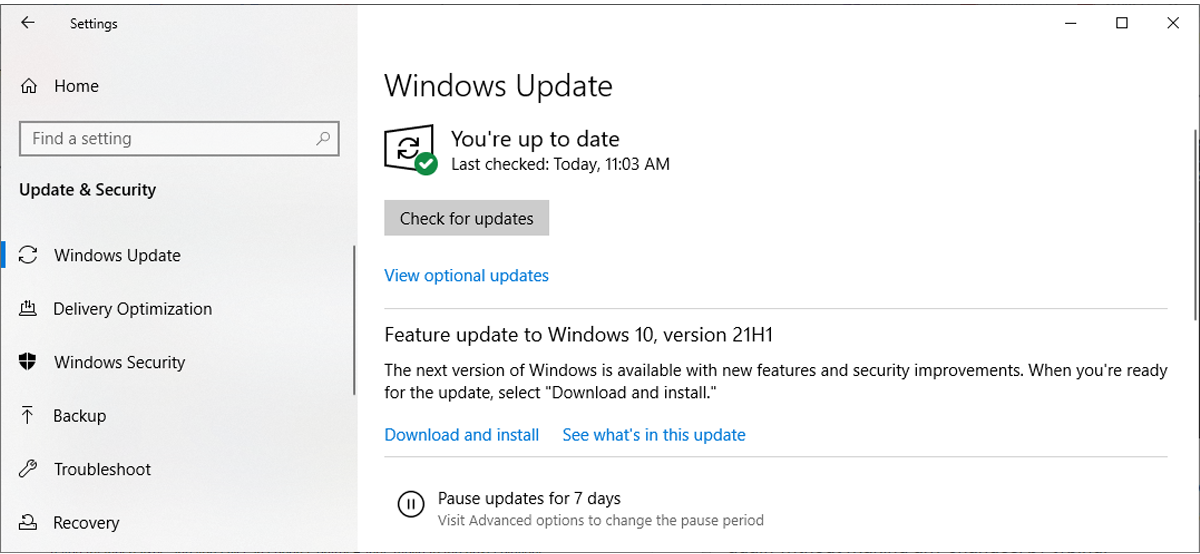
If Windows finds any OS updates available, install them and see if the issue persists.
Getting Windows Shell Experience Host to Work Right
Windows 10 is an extremely user-friendly OS to the point you can fix a lot of issues on the software side without needing professional help. Knowledge is key, and we hope one of the potential fixes for Windows Shell Experience Host causing 100{5376dfc28cf0a7990a1dde1ec4d231557d3d9e6448247a9e5e61bb9e48b1de73} CPU usage mentioned above works for you.
If not, we recommend backing up all your important files and folders and then factory resetting the Windows 10 computer.